
Before you share your website with customers, clients, or the public, it is worth running through a quick checklist. This applies whether you built your site with the Web60 Site Builder or set up WordPress manually.
Content checklist
1. Review every page for placeholder content
Go through each page on your site and make sure there is no placeholder text left behind. Look for things like "Lorem ipsum", "Your company name here", or sample phone numbers. Replace everything with your real business information.
2. Check that all images load correctly
Visit every page and make sure all images appear properly. If you see a broken image icon or a blank space, the image may need to be re-uploaded or the file may be missing.
3. Test all links
Click every link on your site, including navigation menu items, buttons, and any links within your text. Make sure they all go to the right place. Pay special attention to links to external websites.
4. Test your contact form
If you have a contact form, fill it in and submit it. Check that the message arrives at the correct email address. This is one of the most important things on your site, so make sure it works before you go live.
5. Check the mobile view
Most of your visitors will be using a phone. Open your site on your mobile and check that everything looks good, is easy to read, and the navigation works properly. You can also resize your browser window on a computer to get a rough idea.
Settings checklist
6. Set your homepage
Make sure the correct page is set as your homepage. In WordPress, go to Settings > Reading and check that "A static page" is selected with your homepage chosen.
7. Connect your custom domain
If you have a custom domain name (like yourbusiness.ie), connect it through your Web60 dashboard. See our guide on connecting your domain for step-by-step instructions.
8. Verify your SSL certificate
Once your domain is connected, check that the padlock icon appears in your browser's address bar. This confirms your site is secure and your visitors' data is protected. See our SSL certificate guide for more information.
9. Create a fresh backup
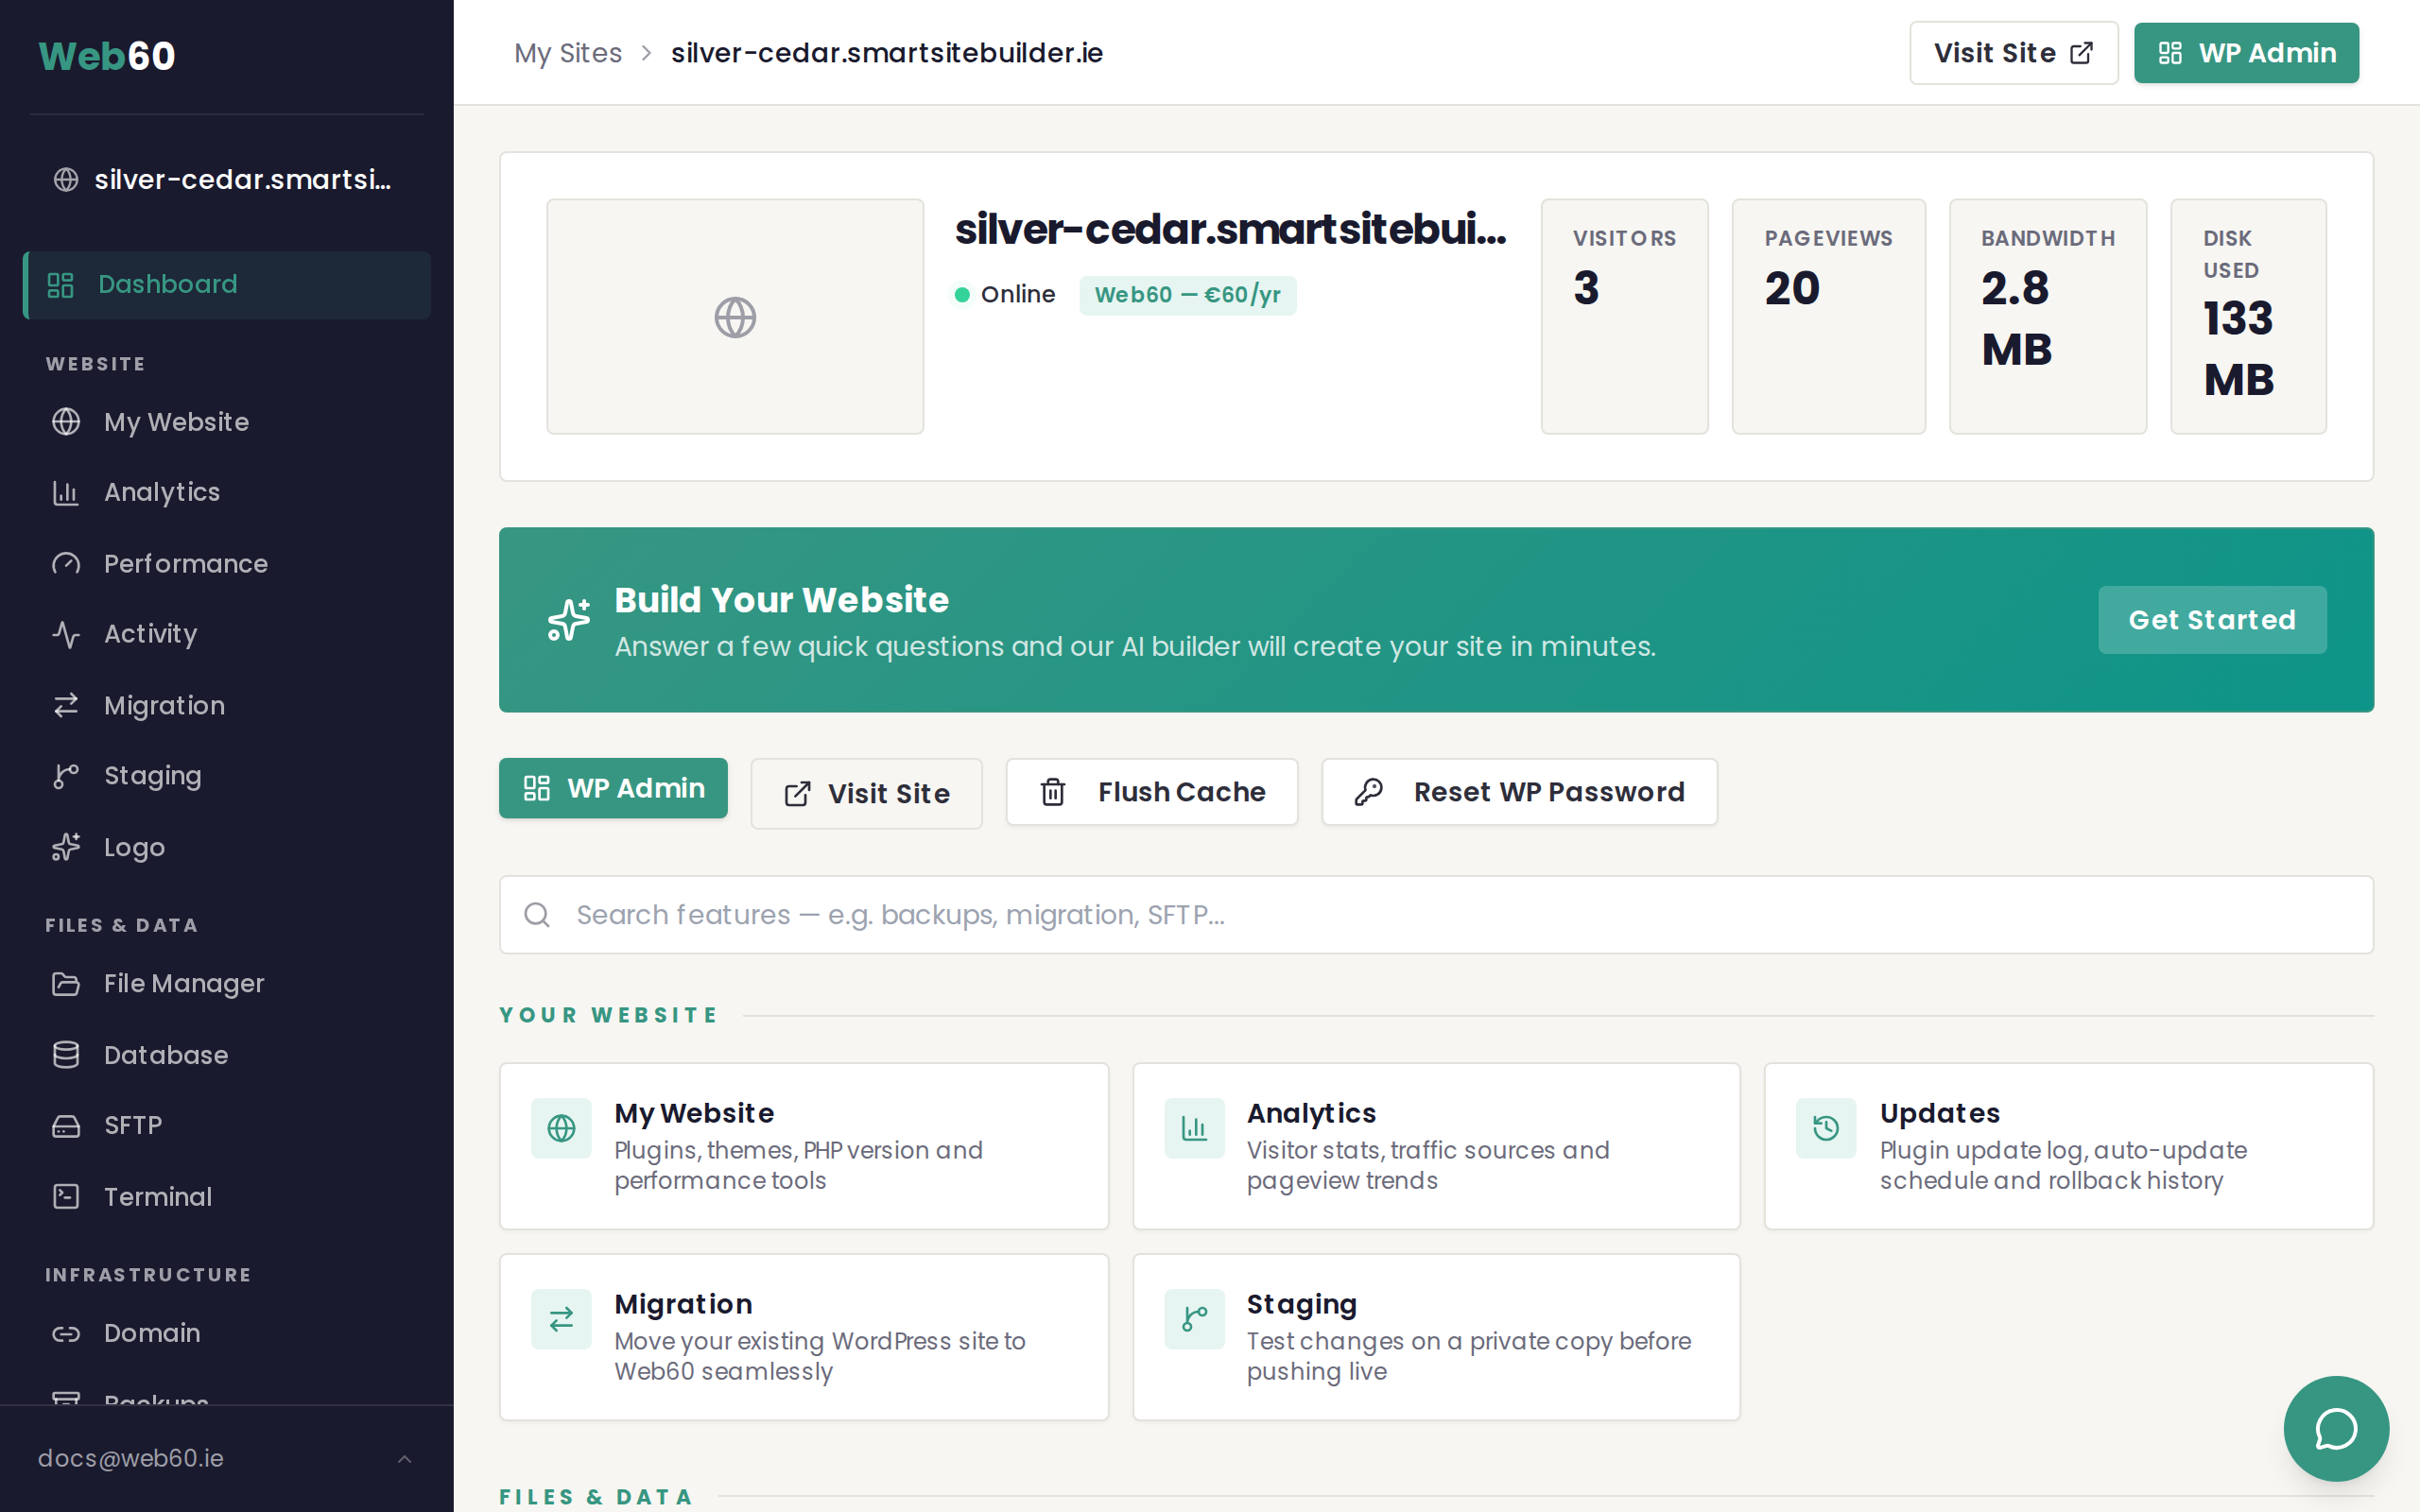
Before you start sharing your site, create a manual backup from your Web60 dashboard. This gives you a safety net in case you need to undo anything after launch. Go to your dashboard, click your site, and use the Backups section.
Search engine checklist
10. Set up Google Search Console
Google Search Console is a free tool that helps Google find and index your site. Sign up at search.google.com/search-console, verify your domain, and submit your sitemap. Your sitemap is usually at yourdomain.ie/sitemap.xml.
11. Check your site speed
A fast site makes a better impression and ranks higher on Google. Open your site in a browser and see how quickly pages load. If anything feels slow, check that your images are not unnecessarily large.
Launch day
12. Share your URL
Your site is ready. Share it on your social media, add it to your email signature, print it on your business cards, and tell your customers. Congratulations on getting your business online.
Need help?
If you run into any issues during your launch, visit our support page and we will be happy to help.
Frequently asked questions
Do I need to do anything special to make my site appear on Google?
Google will eventually find your site on its own, but you can speed things up by submitting your sitemap through Google Search Console. This is free and tells Google your site exists and where to find all your pages.
How do I check my site looks good on mobile?
The easiest way is to open your site on your phone. You can also resize your browser window on a computer to see how the layout adapts. Most visitors will see your site on a phone, so it is worth checking carefully.
What if I'm not ready to connect my domain yet?
That is perfectly fine. Your site is already live on its temporary Web60 address. You can continue working on it and connect your custom domain whenever you are ready.
Last updated: 31 March 2026