
Infrastructure
Complete Guide: Converting Your Web60 Demo to a Live WordPress Website
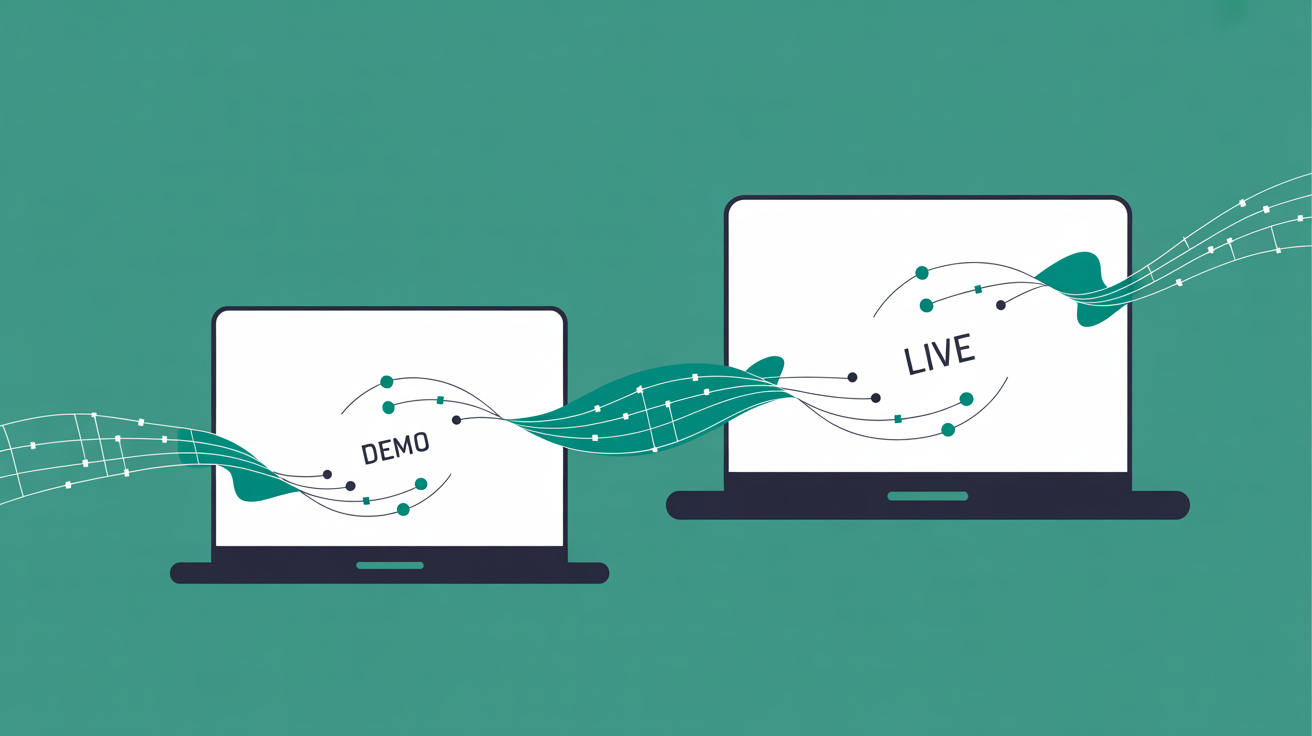
This is your complete reference guide for converting a Web60 demo WordPress site to a fully live, production-ready website. Moving from demo to live involves more than simply paying for hosting, you need to understand what transfers, what requires configuration, and how to verify everything works properly. This guide covers the entire conversion process, from pre-conversion planning through post-launch optimisation, ensuring you preserve all your demo work while establishing a professional production environment.
Understanding the Demo-to-Live Conversion Process
Converting from demo to live hosting fundamentally means transitioning your WordPress site from a temporary testing environment to a permanent production environment with your own domain and billing subscription.
What Demo-to-Live Actually Means
A demo WordPress site exists on temporary infrastructure, typically using a subdomain like yoursite.smartsitebuilder.ie. The conversion process preserves all your content, configurations, and customisations while moving them to production-grade infrastructure under your control.
Unlike many hosting providers that treat demos as limited previews, Web60's demo environment runs on the same infrastructure stack as production sites. This means your demo site already benefits from Redis object caching, automatic security hardening, and the WordOps performance stack.
The Infrastructure Reality
Most hosting providers offer demos that barely resemble their production environment. Features get stripped out, performance limitations apply, and converting often means rebuilding from scratch. I have seen businesses lose weeks of configuration work because their hosting provider's demo was essentially a different product.
Web60's approach eliminates this gap. Your demo site runs on genuine managed WordPress infrastructure from day one. The conversion process transfers your existing site to a permanent production environment without functionality loss.
What Transfers During Conversion: Content, Settings, and Configurations
Understanding exactly what preserves during conversion helps you plan effectively and avoid unpleasant surprises.
Content and Media Preservation
- All pages, posts, and WordPress content transfer completely
- Media library files, including images, PDFs, and uploads
- User accounts and role assignments
- Comments and comment settings
- Menus and navigation structures
- Widget configurations
WordPress Configuration Elements
- Theme settings and customisations
- Plugin configurations and data
- WordPress core settings (reading, writing, discussion)
- Permalink structures
- Database customisations and custom fields
Infrastructure-Level Features
- SSL certificate provisioning (automatically configured for your new domain)
- Backup schedules and existing backup history
- Security configurations and hardening rules
- Performance optimisations including Redis caching
- File permissions and security policies
Email and Domain Dependencies
Email configurations require manual setup after conversion since your demo likely used a temporary domain. Any hardcoded references to your demo domain in content or settings need updating to reflect your production domain.
Database references to your demo URL get updated automatically during conversion, but custom configurations in plugins or themes might require manual attention.
Pre-Conversion Checklist: Preparing Your Demo Site
Proper preparation prevents conversion complications and ensures a smooth transition to production.
Content Audit and Cleanup
- Remove Demo Content: Delete any placeholder content, sample pages, or test posts that should not appear on your live site
- Verify Media: Check that all images display correctly and remove any test uploads
- Review User Accounts: Remove demo user accounts and ensure only legitimate users have access
- Test All Functionality: Click through your site systematically to identify broken links or missing content
Configuration Review
- Document any custom plugin settings you have configured
- Note theme customisations, particularly custom CSS or code snippets
- Review contact forms to ensure they point to correct email addresses
- Check social media links and external integrations
- Verify Google Analytics or other tracking codes
Domain Preparation
If you have not already registered your domain, do this before starting conversion. Domain registration can take time, and DNS propagation adds another 24-48 hours to the process.
For existing domains, gather your current DNS management credentials. You will need these to point your domain to Web60's infrastructure.
Backup Verification
Whilst Web60 handles backups automatically, verify your demo site has recent backup points. This provides a safety net if anything goes wrong during conversion.
The conversion process includes a pre-conversion snapshot, but having verified backup points gives additional confidence.
Step-by-Step Conversion Process in Web60
Web60's conversion process preserves all your demo work whilst establishing proper production hosting.
Initiating Conversion
- Access Conversion Tools: Log into your Web60 dashboard and locate the demo-to-live conversion option
- Domain Selection: Choose whether to connect your own domain or initially use the included smartsitebuilder.ie subdomain
- Billing Setup: Configure your hosting subscription and payment method
- Conversion Scheduling: Choose immediate conversion or schedule for a specific time
The Conversion Process
Web60 executes several automated steps during conversion:
- Creates a pre-conversion backup snapshot
- Provisions production hosting environment
- Transfers all files, databases, and configurations
- Updates internal WordPress URLs and database references
- Configures SSL certificate for your production domain
- Applies production-level security policies
Real-Time Monitoring
The Web60 dashboard shows conversion progress in real-time. Most conversions complete within 15-30 minutes, depending on site size and complexity.
During conversion, your demo site remains accessible. The new production site becomes available once conversion completes and DNS propagation occurs.
Post-Conversion Verification
Once conversion completes, Web60 provides access to both your demo site (temporarily) and your new production site. This allows side-by-side comparison to verify everything transferred correctly.
The demo site gets decommissioned after 7 days, providing a grace period for final verification and content comparison.
Domain Configuration and DNS Setup
Connecting your domain to your newly converted WordPress site requires DNS configuration and understanding propagation timelines.
DNS Record Requirements
Point your domain to Web60's infrastructure using these DNS settings:
- A record: Your domain root pointing to Web60's server IP
- CNAME record: www subdomain pointing to your main domain
- MX records: If using Web60's email services
DNS Management Options
You can manage DNS through:
- Your domain registrar's DNS management panel
- A third-party DNS service like Cloudflare
- Web60's DNS management (if you register your domain through Web60)
Propagation Timeline
DNS changes typically propagate within 24-48 hours, though many users see changes within 2-4 hours. During propagation, some visitors might see your old site whilst others see your new Web60 site.
SSL certificate provisioning happens automatically once your domain points to Web60's infrastructure. Let's Encrypt certificates usually provision within minutes of successful DNS resolution. For a deeper look, see staging environments for testing website changes safely.
Testing DNS Resolution
Before declaring victory, verify your domain resolves correctly:
- Clear your browser cache and test your domain
- Use online DNS checking tools to verify propagation
- Test from different networks (mobile data vs office WiFi)
- Verify both www and non-www versions work correctly
Email Configuration Considerations
If your domain previously handled email through your old hosting provider, you need to reconfigure email services. This might mean:
- Setting up email through Web60 if they provide email services
- Configuring email through a separate provider like Google Workspace
- Updating MX records to point to your email provider
Email configuration often gets overlooked during website migrations, but it is crucial for business continuity.
Post-Conversion Security and Performance Optimisation
After successful conversion, implement security measures and performance optimisations for your production environment.
Security Configuration
Web60 applies server-level security hardening automatically, but additional WordPress-level security improves protection:
- Change default WordPress admin username if still using 'admin'
- Update all user passwords to strong, unique passwords
- Review user permissions and remove unnecessary admin accounts
- Configure two-factor authentication for admin users
- Review plugin security settings, particularly for contact forms and membership plugins
Performance Optimisation
Whilst Web60's infrastructure provides strong baseline performance, content-level optimisations deliver additional improvements:
- Optimise images using appropriate formats and compression
- Review plugin usage and remove unnecessary plugins
- Configure caching plugins if needed (though Web60's Redis caching handles most requirements)
- Implement proper heading structure for better page load prioritisation
Database Optimisation
After conversion, your WordPress database might contain demo-era inefficiencies:
- Run database optimisation to remove unnecessary revisions
- Clear spam comments and trackbacks accumulated during demo period
- Optimise database tables through phpMyAdmin or WordPress plugins
- Review and clean up unused media files
Monitoring Setup
Establish monitoring to track your site's health:
- Set up uptime monitoring to catch outages quickly
- Configure Google Search Console for SEO monitoring
- Implement analytics tracking (Web60's privacy-first analytics provides GDPR-compliant visitor insights)
- Monitor Core Web Vitals performance to maintain strong user experience scores
Proactive monitoring catches issues before they impact visitors or business operations.
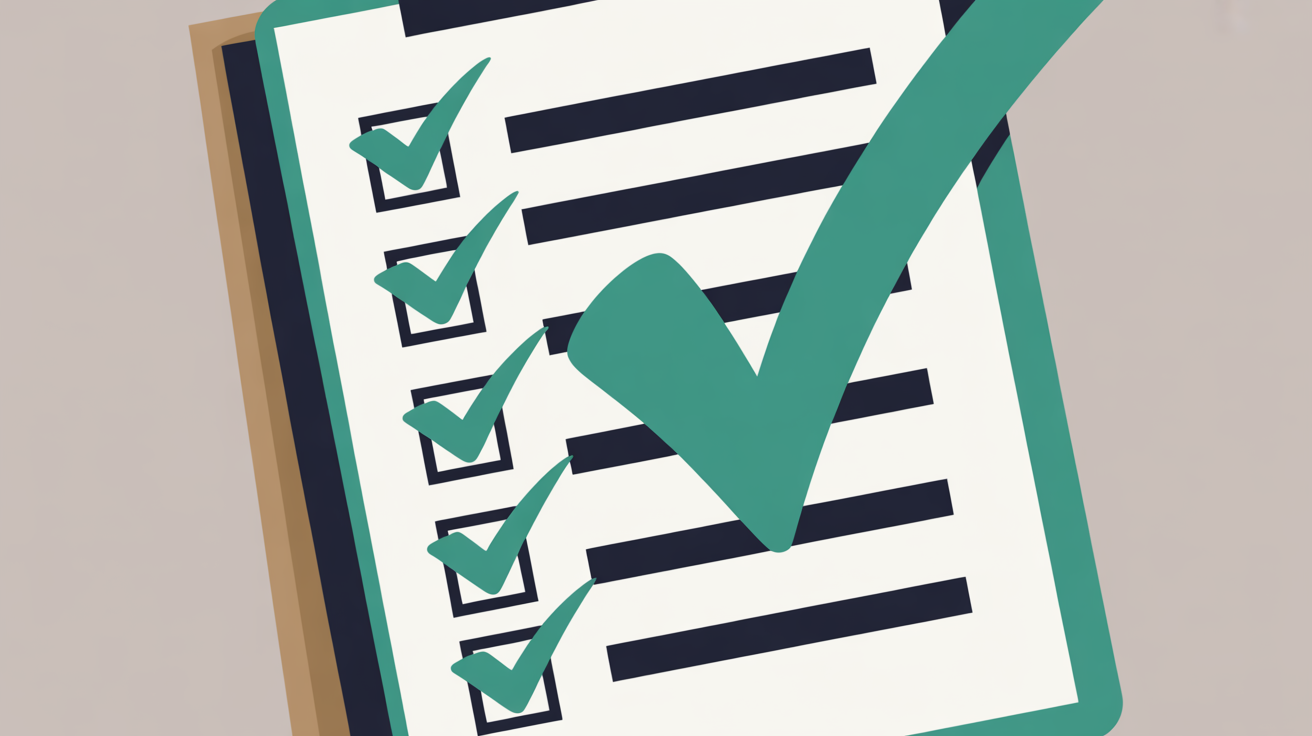
Testing Your Live Site: Essential Verification Steps
Systematic testing after conversion ensures everything functions correctly in the production environment.
Functionality Testing
Test every interactive element systematically:
- Submit all contact forms and verify emails arrive
- Test user registration and login processes
- Verify shopping cart functionality if running eCommerce
- Check search functionality works correctly
- Test comment submission and moderation
- Verify social sharing buttons link correctly
Cross-Browser and Device Testing
- Test on major browsers: Chrome, Firefox, Safari, Edge
- Verify mobile responsiveness on actual devices
- Check tablet display and functionality
- Test on different screen resolutions
- Verify touch interactions work on mobile devices For a deeper look, see professional WordPress development tools.
Performance Verification
Run performance tests to establish baseline metrics:
- Test page load speeds using tools like GTmetrix or PageSpeed Insights
- Verify images load quickly and display correctly
- Check for broken internal and external links
- Test under simulated load to verify server response
- Monitor Core Web Vitals scores for user experience quality
SEO and Analytics Verification
- Verify Google Analytics tracking works correctly
- Check that meta titles and descriptions display properly
- Ensure robots.txt allows proper search engine access
- Submit updated sitemap to Google Search Console
- Verify structured data markup remains intact
Security Testing
- Verify SSL certificate works correctly across all pages
- Check that admin areas require proper authentication
- Test password reset functionality
- Verify file upload restrictions work properly
- Check that sensitive URLs return proper access controls
Content Verification
Compare your live site against your demo to ensure nothing was lost:
- Review all pages for missing content or formatting issues
- Verify media files display correctly
- Check that custom styling and layouts preserved
- Ensure navigation menus work properly
- Verify that internal links resolve correctly
Common Issues and Troubleshooting
Understanding common conversion issues helps resolve problems quickly and maintain site availability.
Domain and DNS Issues
The most common post-conversion problems relate to domain configuration:
- Slow DNS Propagation: DNS changes can take up to 48 hours. Use online DNS checking tools to monitor propagation progress
- SSL Certificate Delays: SSL provisioning requires successful DNS resolution. If your SSL certificate does not provision automatically, verify your domain points correctly to Web60's infrastructure
- Mixed Content Warnings: If your site loads over HTTPS but shows security warnings, check for hardcoded HTTP links in content or theme files
- Email Delivery Issues: After domain changes, email might stop working if MX records point to your old hosting provider
WordPress-Specific Problems
- Plugin Conflicts: Some plugins store absolute URLs that might not update during conversion. Check plugin settings and update manually if necessary
- Theme Issues: Custom themes might reference the old domain in CSS or JavaScript files. Review theme files and update hardcoded references
- Database URL Mismatches: Whilst Web60 handles most URL updates automatically, some plugins store URLs in serialised data that requires manual updating
- File Permission Problems: Converted sites occasionally inherit incorrect file permissions. Web60's support team can resolve permission issues quickly
Performance Problems
If your converted site performs poorly compared to the demo:
- Cache Configuration: Verify that Redis object caching activated correctly during conversion
- Plugin Overhead: Some plugins increase resource usage on production sites with real traffic
- Database Efficiency: Large demo databases with test content might need optimisation
- Image Optimisation: Production sites benefit from proper image compression and modern formats
User Access Issues
- Login Problems: User passwords remain the same, but some users might need to clear browser caches
- Permission Errors: User roles and capabilities transfer, but some plugins might require permission reconfiguration
- Session Conflicts: Users logged into the demo site might experience session conflicts. Clearing browser data resolves this
Recovery Procedures
If serious issues occur during conversion:
- Web60 maintains pre-conversion backups for emergency restoration
- Staging environments allow testing fixes before applying them to production
- The original demo site remains accessible for 7 days for content comparison and recovery
- Web60's Irish support team provides direct assistance for complex conversion issues
Most conversion issues resolve within hours through proper DNS configuration and cache clearing. Serious problems requiring restoration or technical intervention are rare but covered by Web60's conversion guarantee.
To see how this works in practice, explore try Web60's 60-second AI website builder.
Conclusion
Converting from demo to live hosting marks the transition from testing to genuine business operation. Web60's conversion process preserves your demo work whilst establishing production-grade infrastructure with Irish data sovereignty. The key to successful conversion lies in proper preparation, systematic testing, and understanding that DNS propagation takes time. Unlike hosting providers that treat demos as limited previews, Web60's approach means your converted site inherits the same performance, security, and reliability that powered your demo experience. If you are ready to take your WordPress site from demonstration to production, try building your site in Web60's demo environment to experience the conversion process firsthand. The decision now rests on whether you want hosting that treats your demo work as disposable or preserves it as the foundation for your business website.
Frequently Asked Questions
How long does the demo-to-live conversion process take?
Most Web60 demo-to-live conversions complete within 15-30 minutes, depending on site size and complexity. However, DNS propagation for your domain can take 24-48 hours, during which some visitors might see your old site while others see your new Web60 site. The actual conversion process is quick, but full global accessibility depends on DNS propagation timing.
Will I lose any content or settings during conversion?
No, Web60's conversion process preserves all content, settings, and configurations from your demo site. This includes pages, posts, media files, theme customisations, plugin settings, and database content. Unlike hosting providers that require rebuilding from scratch, Web60's demo environment runs on the same infrastructure as production sites, ensuring smooth preservation.
Can I test the conversion before making it permanent?
Yes, Web60 maintains your original demo site for 7 days after conversion, allowing side-by-side comparison. Additionally, Web60 creates a pre-conversion backup snapshot and provides staging environments for testing changes. This multi-layered approach ensures you can verify everything works correctly before fully committing to the production environment.
What happens to my domain's email during conversion?
Email configuration requires manual setup after conversion since your demo used a temporary domain. If your domain previously handled email through your old hosting provider, you need to update MX records to point to your new email provider or configure email services through Web60. Plan for potential email interruption during the DNS transition period.
Do I need technical knowledge to complete the conversion?
The Web60 conversion process handles most technical aspects automatically, including file transfer, database updates, and SSL configuration. However, you need basic DNS management skills to point your domain to Web60's infrastructure. Web60's Irish support team provides guidance for DNS configuration and can assist with complex conversion requirements.
Can I convert my demo site if I am using a domain from another registrar?
Yes, you can convert your demo site using a domain registered with any provider. You simply need to update the DNS records to point your domain to Web60's infrastructure. The conversion process works regardless of where you registered your domain, though you will need access to your domain's DNS management panel.
What if something goes wrong during the conversion process?
Web60 creates pre-conversion backup snapshots and maintains your original demo site for 7 days as a safety net. If serious issues occur, Web60 can restore from these backups. Additionally, Web60's Irish support team provides direct assistance for complex conversion problems. Most issues relate to DNS configuration and resolve quickly with proper guidance.
Sources
WordPress.com - WordPress Market Share Statistics - https://wordpress.com/blog/2025/04/17/wordpress-market-share/
WPBeginner - Ultimate List of WordPress Stats and Facts - https://www.wpbeginner.com/research/ultimate-list-of-wordpress-stats-facts-and-other-research/
InstaWP - How to Build a Live Demo WordPress Website - https://instawp.com/how-to-build-a-live-demo-wordpress-website/
Odown Blog - Cost of Downtime - https://odown.com/blog/cost-of-downtime/
TechTimes - Website Downtime Costs Businesses $20k Annually - https://www.techtimes.com/articles/308513/20241128/website-downtime-costs-businesses-20k-annually.htm
Graeme Conkie founded SmartHost in 2020 and has spent years building hosting infrastructure for Irish businesses. He created Web60 after seeing the same problem repeatedly — Irish SMEs paying too much for hosting that underdelivers. He writes about WordPress infrastructure, server security, developer workflows, managed hosting strategy, and the real cost of hosting decisions for Irish business owners.
More by Graeme Conkie →Ready to get your business online?
Describe your business. AI builds your website in 60 seconds.
Build My Website Free →More from the blog
Browser Terminal Access: Command-Line WordPress Development Without SSH Complexity
Browser terminal access gives WordPress developers command-line power without SSH setup. Run WP-CLI commands through any web browser, bypass firewalls instantly.
Advanced WordPress Settings: Why Irish Developers Don't Need Server Access Anymore
Professional WordPress configuration doesn't require root access. Control memory limits, caching, security through modern hosting interfaces. Irish developers deserve better.