
A staging site is a private copy of your website where you can make and test changes without affecting the site your visitors see. Think of it as a practice version of your website — you can try things out freely, and nothing goes live until you are ready.
Why staging matters
When you make changes directly on your live website, every edit is immediately visible to anyone who visits. That is fine for small things like fixing a typo, but for bigger changes it can be risky. If something goes wrong — a broken layout, a missing image, a plugin conflict — your visitors see the problem straight away.
Staging removes that risk. You work on a separate copy of your site, and your live site stays exactly as it is until you choose to update it.
Who should use staging
Staging is useful for anyone planning to make significant changes to their website. Common scenarios include:
- Trying a new theme — see how your content looks with a different design before committing to it
- Testing plugins — install and test a new plugin to make sure it works well with your site
- Redesigning pages — rework your homepage or other key pages without disrupting your live site
- Checking updates — test WordPress or plugin updates to make sure they do not cause any issues
When staging is overkill
You do not need staging for every small edit. For simple tasks like these, it is easier to work directly on your live site:
- Fixing a typo on a page
- Adding a new blog post
- Updating a phone number or address
- Swapping out a single image
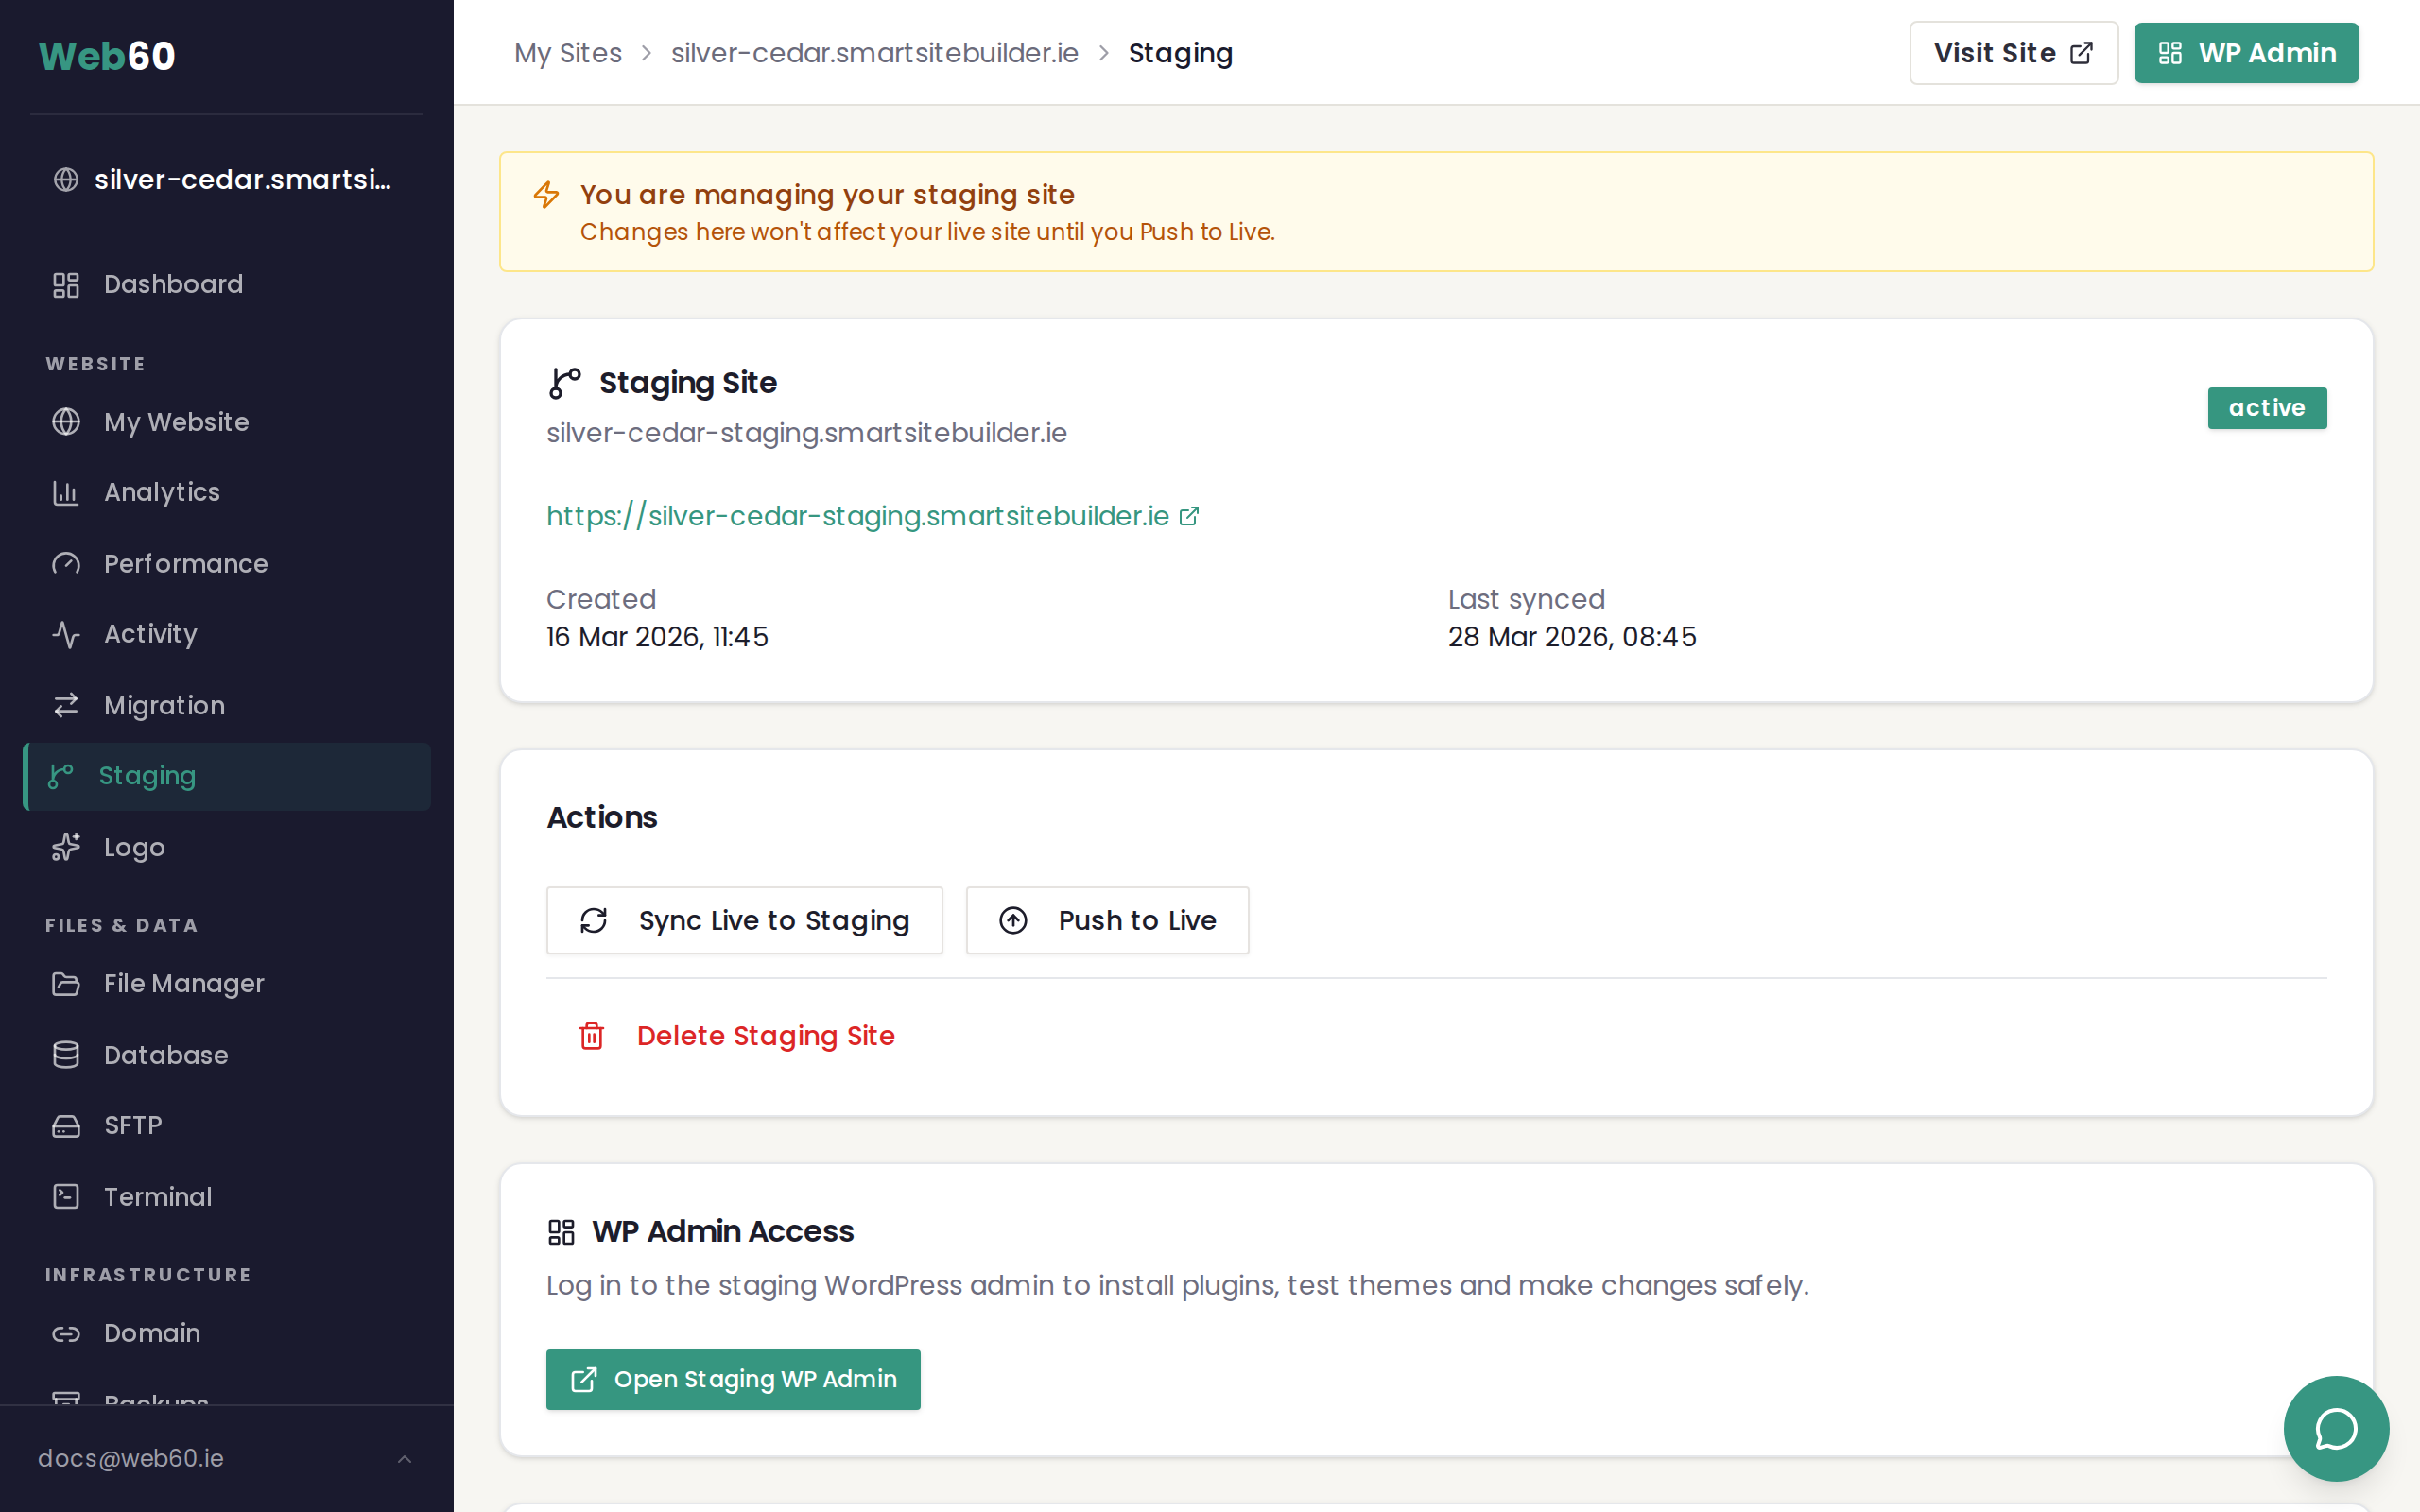
How Web60 staging works
Web60 makes staging straightforward:
- One-click creation — create a staging site directly from your Web60 dashboard
- Complete copy — staging includes all your files, pages, posts, settings, and database
- Password-protected — only you can see the staging site
- Separate from live — nothing you do on staging affects your live site until you push the changes
- Free with your plan — staging is included at no extra cost
The staging workflow
The typical process looks like this:
- Create a staging site from your Web60 dashboard
- Make changes on your staging site — try new themes, test plugins, redesign pages
- Review your staging site to make sure everything looks right
- Push to live when you are happy with the changes
It is that simple. You test in private, then update your live site when everything is ready.
Need help?
If you have any questions about staging or need help getting started, visit our support page and we will be happy to help.
Frequently asked questions
Is staging included in my Web60 plan?
Yes. Staging is included at no extra cost with every Web60 plan. You can create and use a staging site whenever you need it.
Can my visitors see the staging site?
No. Your staging site is password-protected and completely separate from your live site. Only you can access it using the credentials shown in your Web60 dashboard.
How is staging different from just editing my live site?
When you edit your live site, every change is immediately visible to your visitors. With staging, you work on a private copy. You can experiment, make mistakes, and try different approaches without your visitors seeing anything. When you are happy with the result, you push the changes to your live site in one go.
Last updated: 31 March 2026