
Sometimes you do not need to restore your entire website. Perhaps you accidentally edited a theme file, deleted an image, or a plugin update changed a single configuration file. In these situations, you can restore just the specific file or folder you need from any backup snapshot, without affecting the rest of your site.
When to use individual file restore
Individual file restore is the right choice when:
- You accidentally edited or deleted a specific file and want to get the original back
- A plugin or theme update broke one file but everything else is working fine
- You deleted an image or document from the uploads folder and need it back
- You want to compare what a file looked like before and after a change
If the problem is more widespread, such as your whole website looking wrong or your content being missing, a full site restore or database-only restore may be more appropriate.
How to restore a file or folder
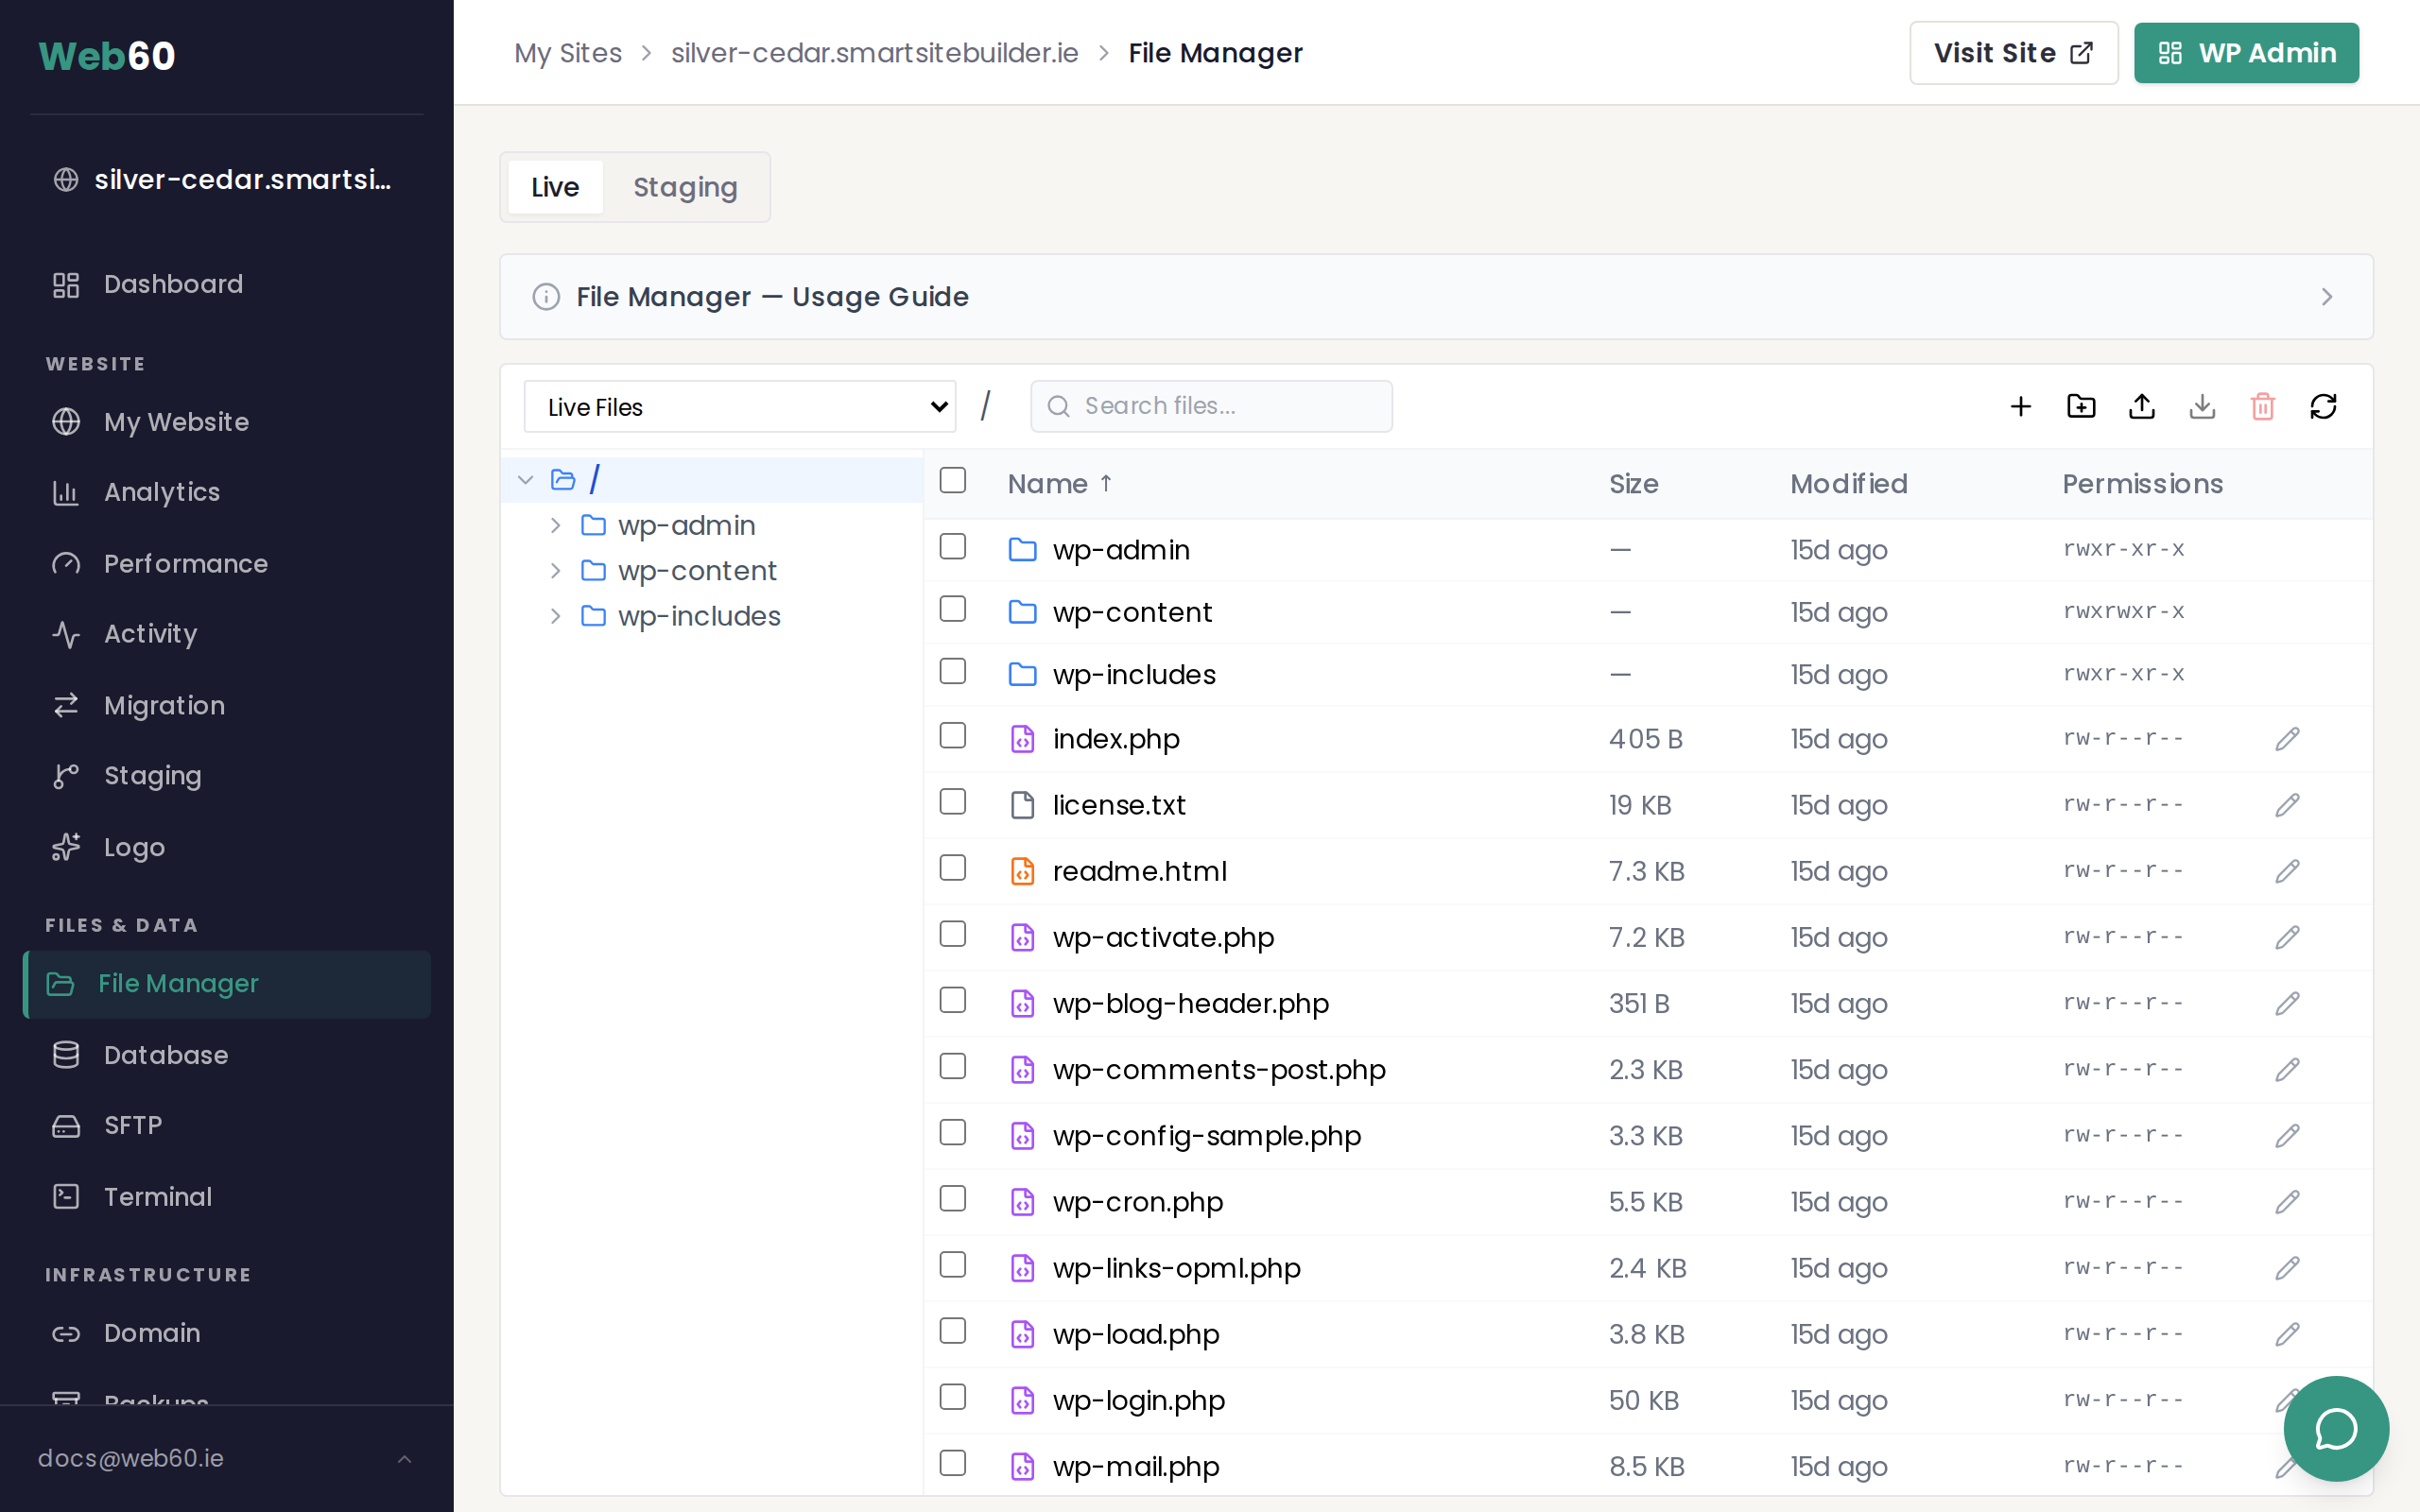
Step 1: Open the File Manager
- Sign in to your Web60 dashboard.
- Select your website.
- Click File Manager in the left sidebar.
Step 2: Select a backup snapshot
In the top-left corner of the file manager, you will see a dropdown that says Live Files. Click it to see a list of available backup snapshots, each showing the backup type and date.
Select the backup you want to restore from. Choose one from before the problem occurred.
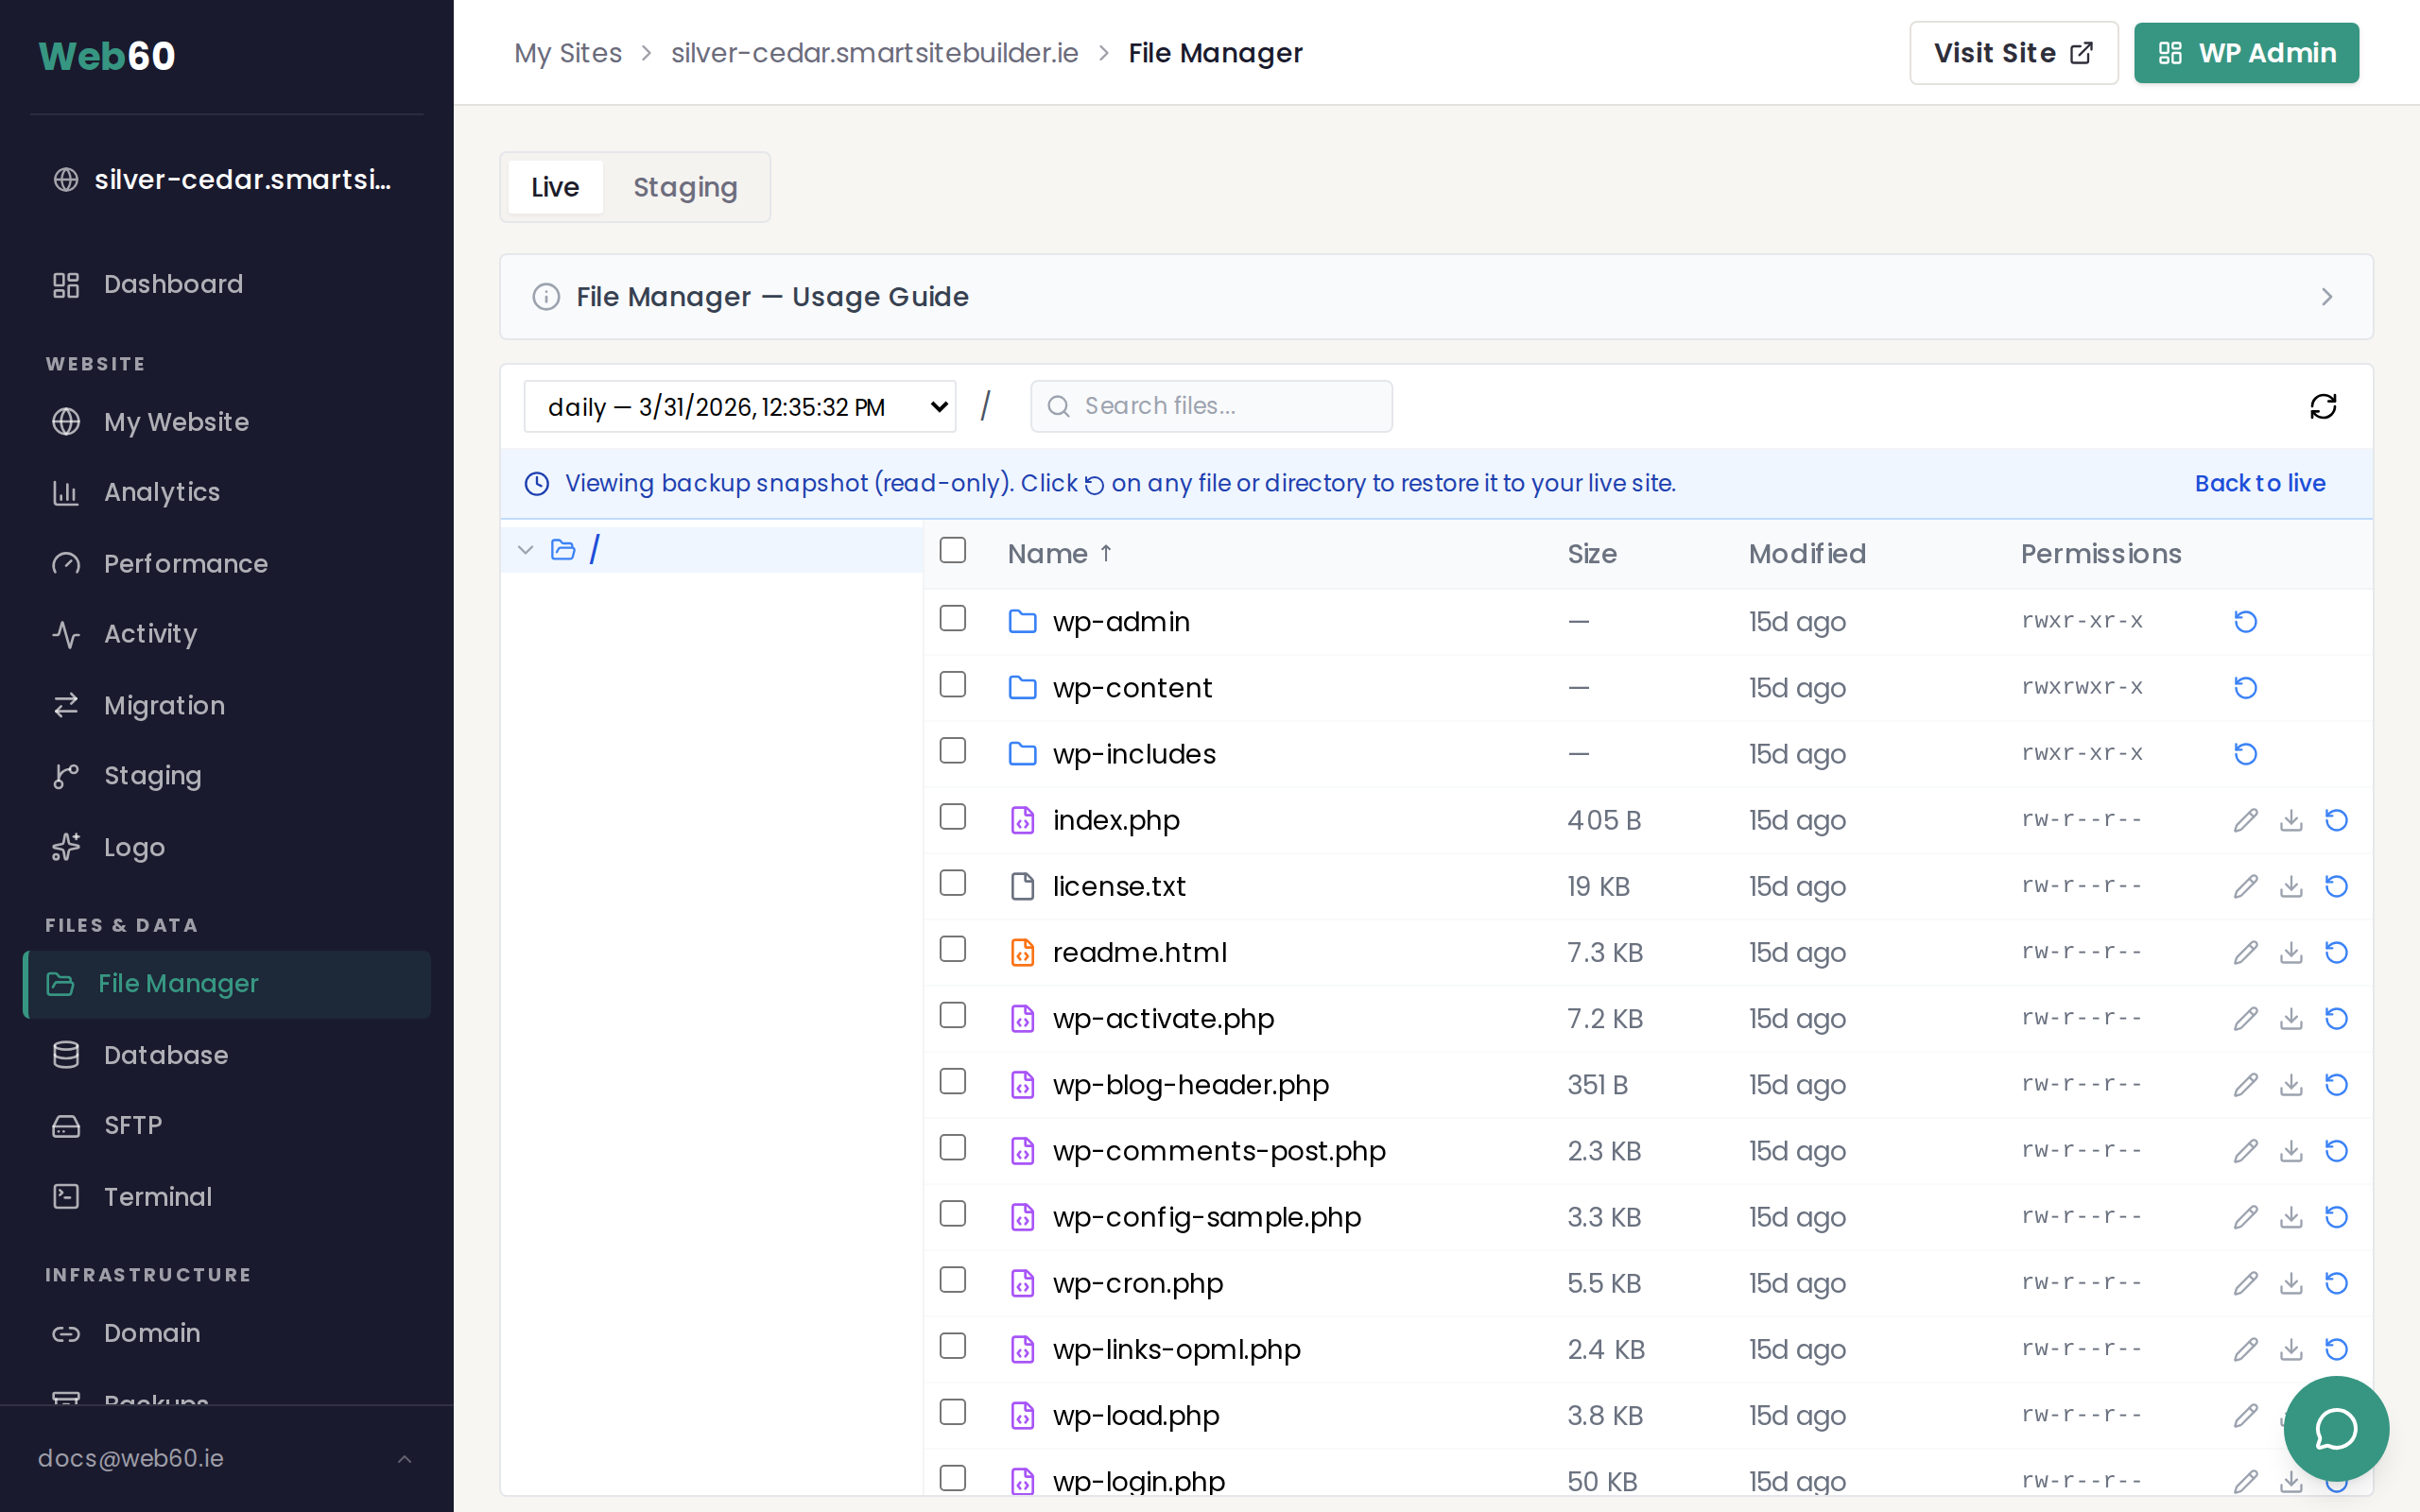
Once you select a backup, a blue banner appears at the top confirming you are now browsing a read-only backup snapshot. You cannot edit, upload, or delete files while viewing a backup.
Step 3: Find the file or folder
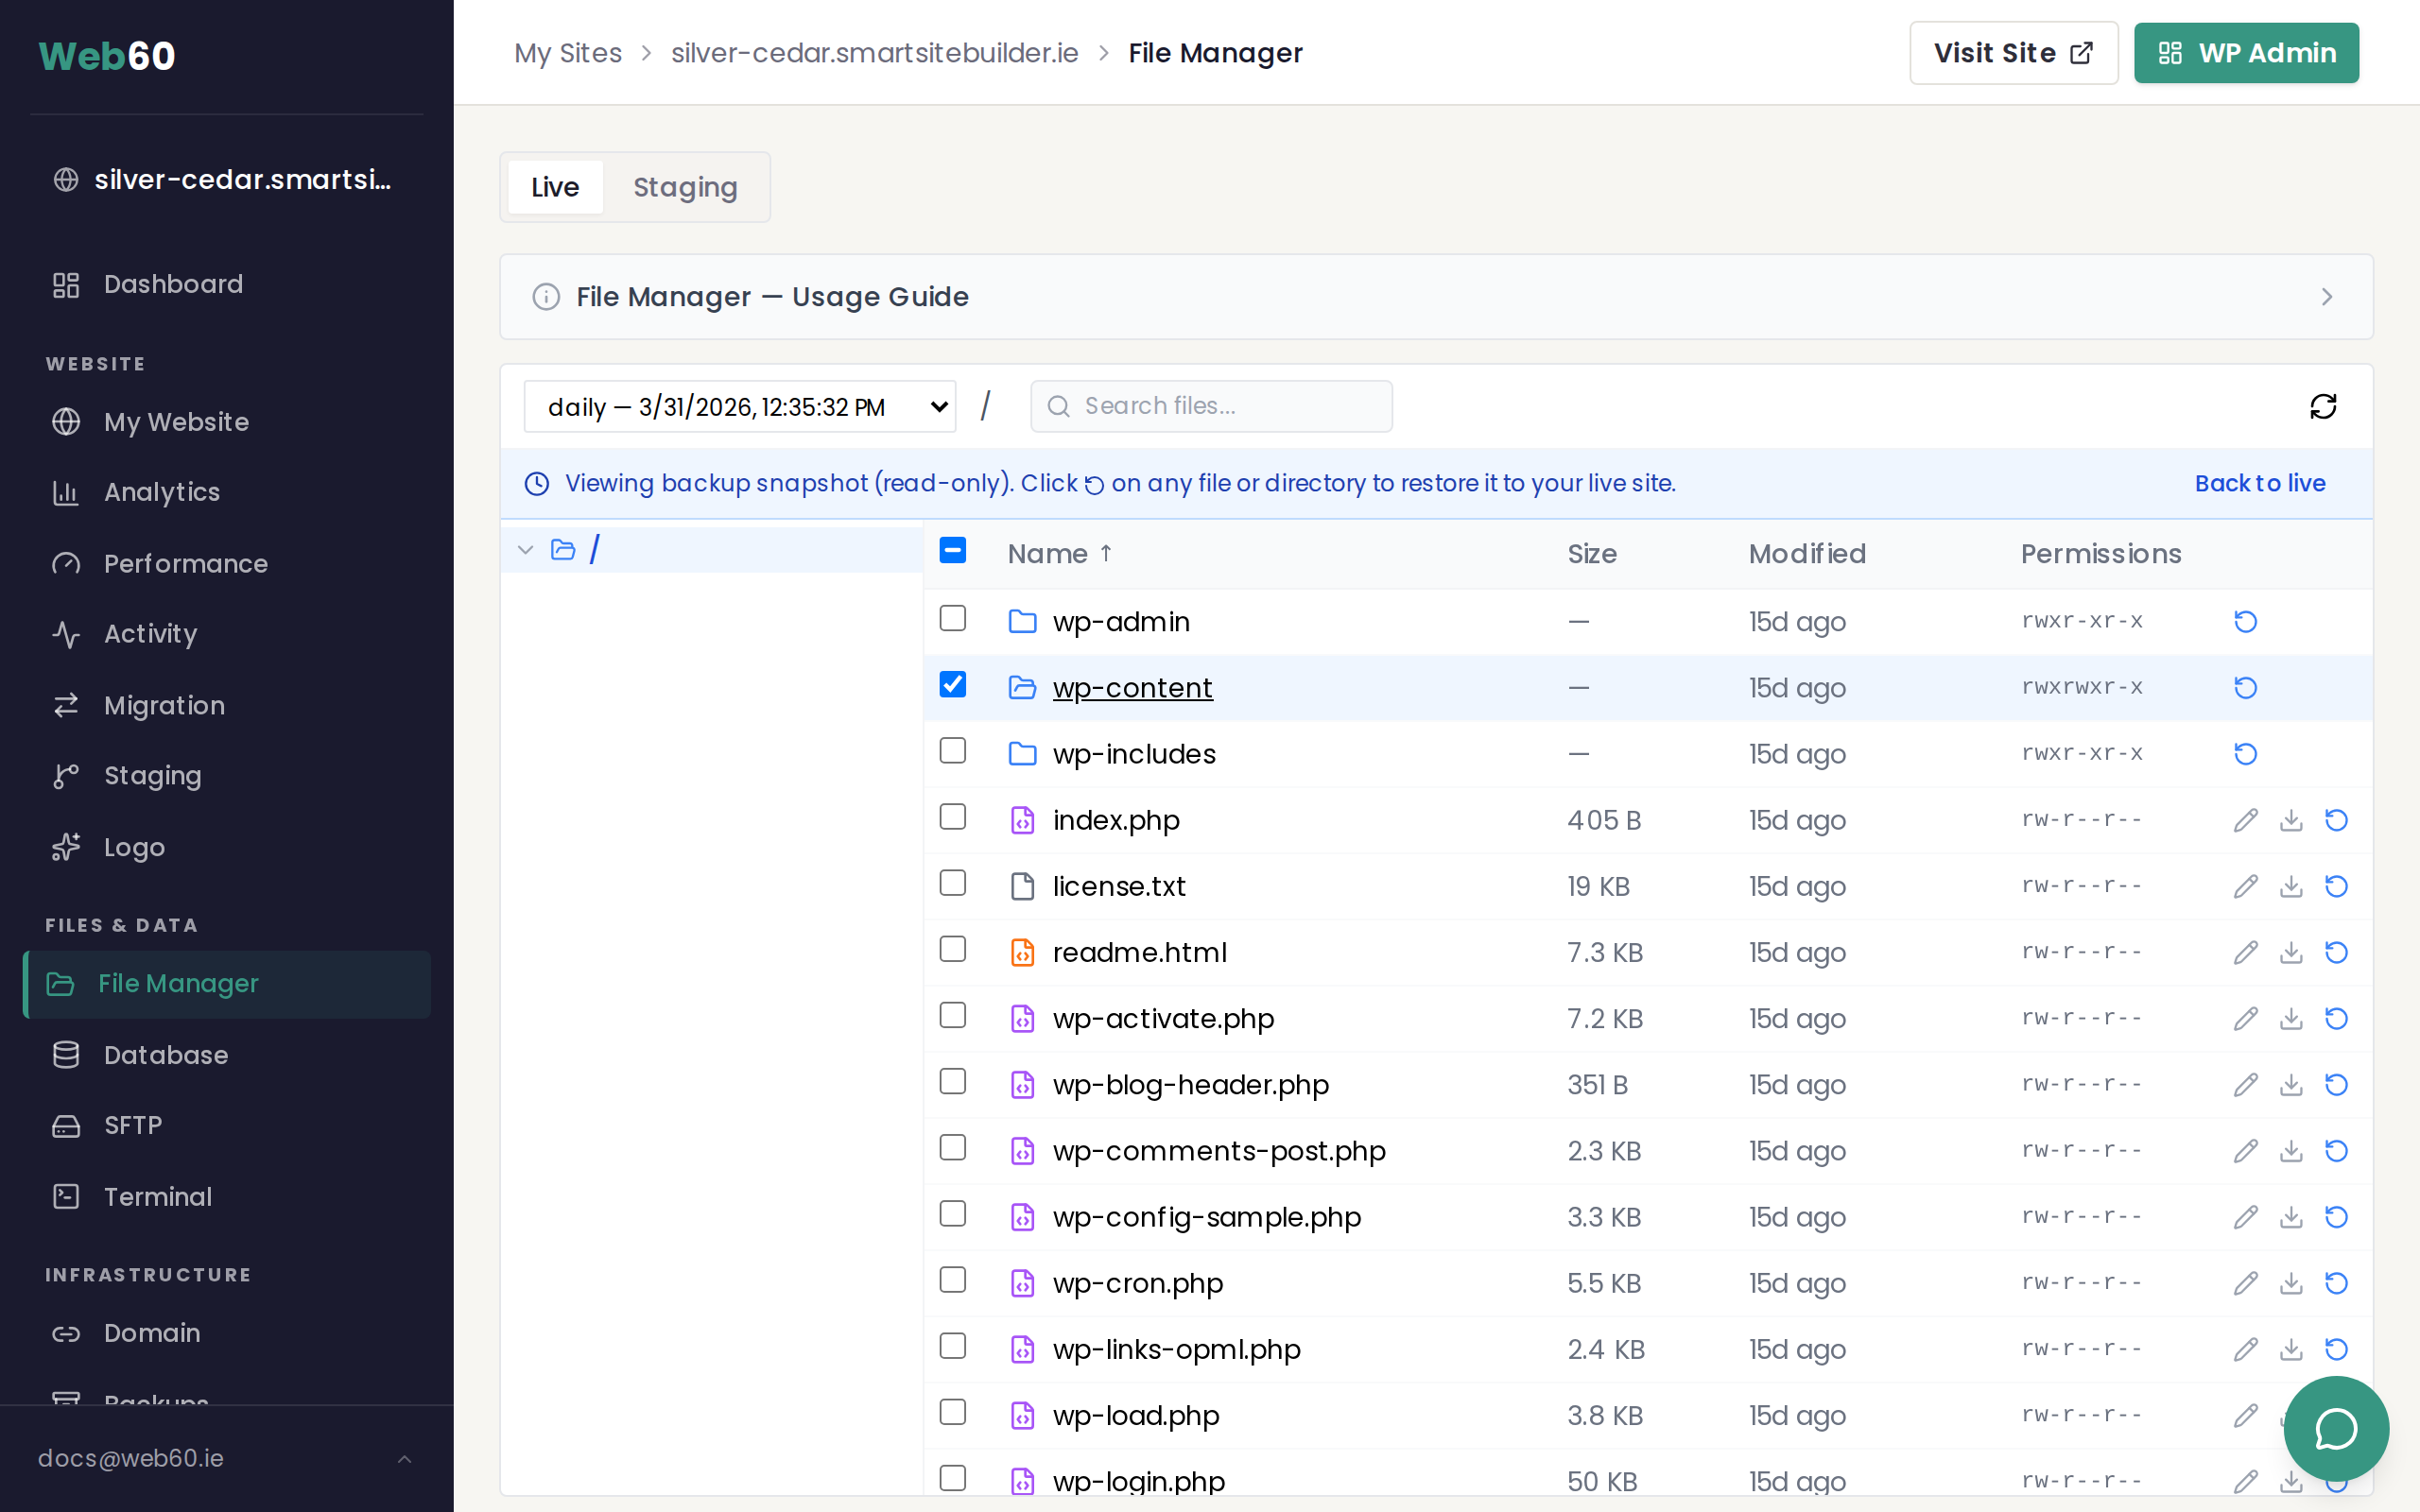
Browse through the backup just as you would browse your live files. Use the folder tree on the left or click through the file list to navigate to the file or folder you need.
Step 4: Restore it
Click the restore icon (a circular arrow) next to the file or folder you want to bring back. A confirmation dialog will appear, telling you exactly what will happen.
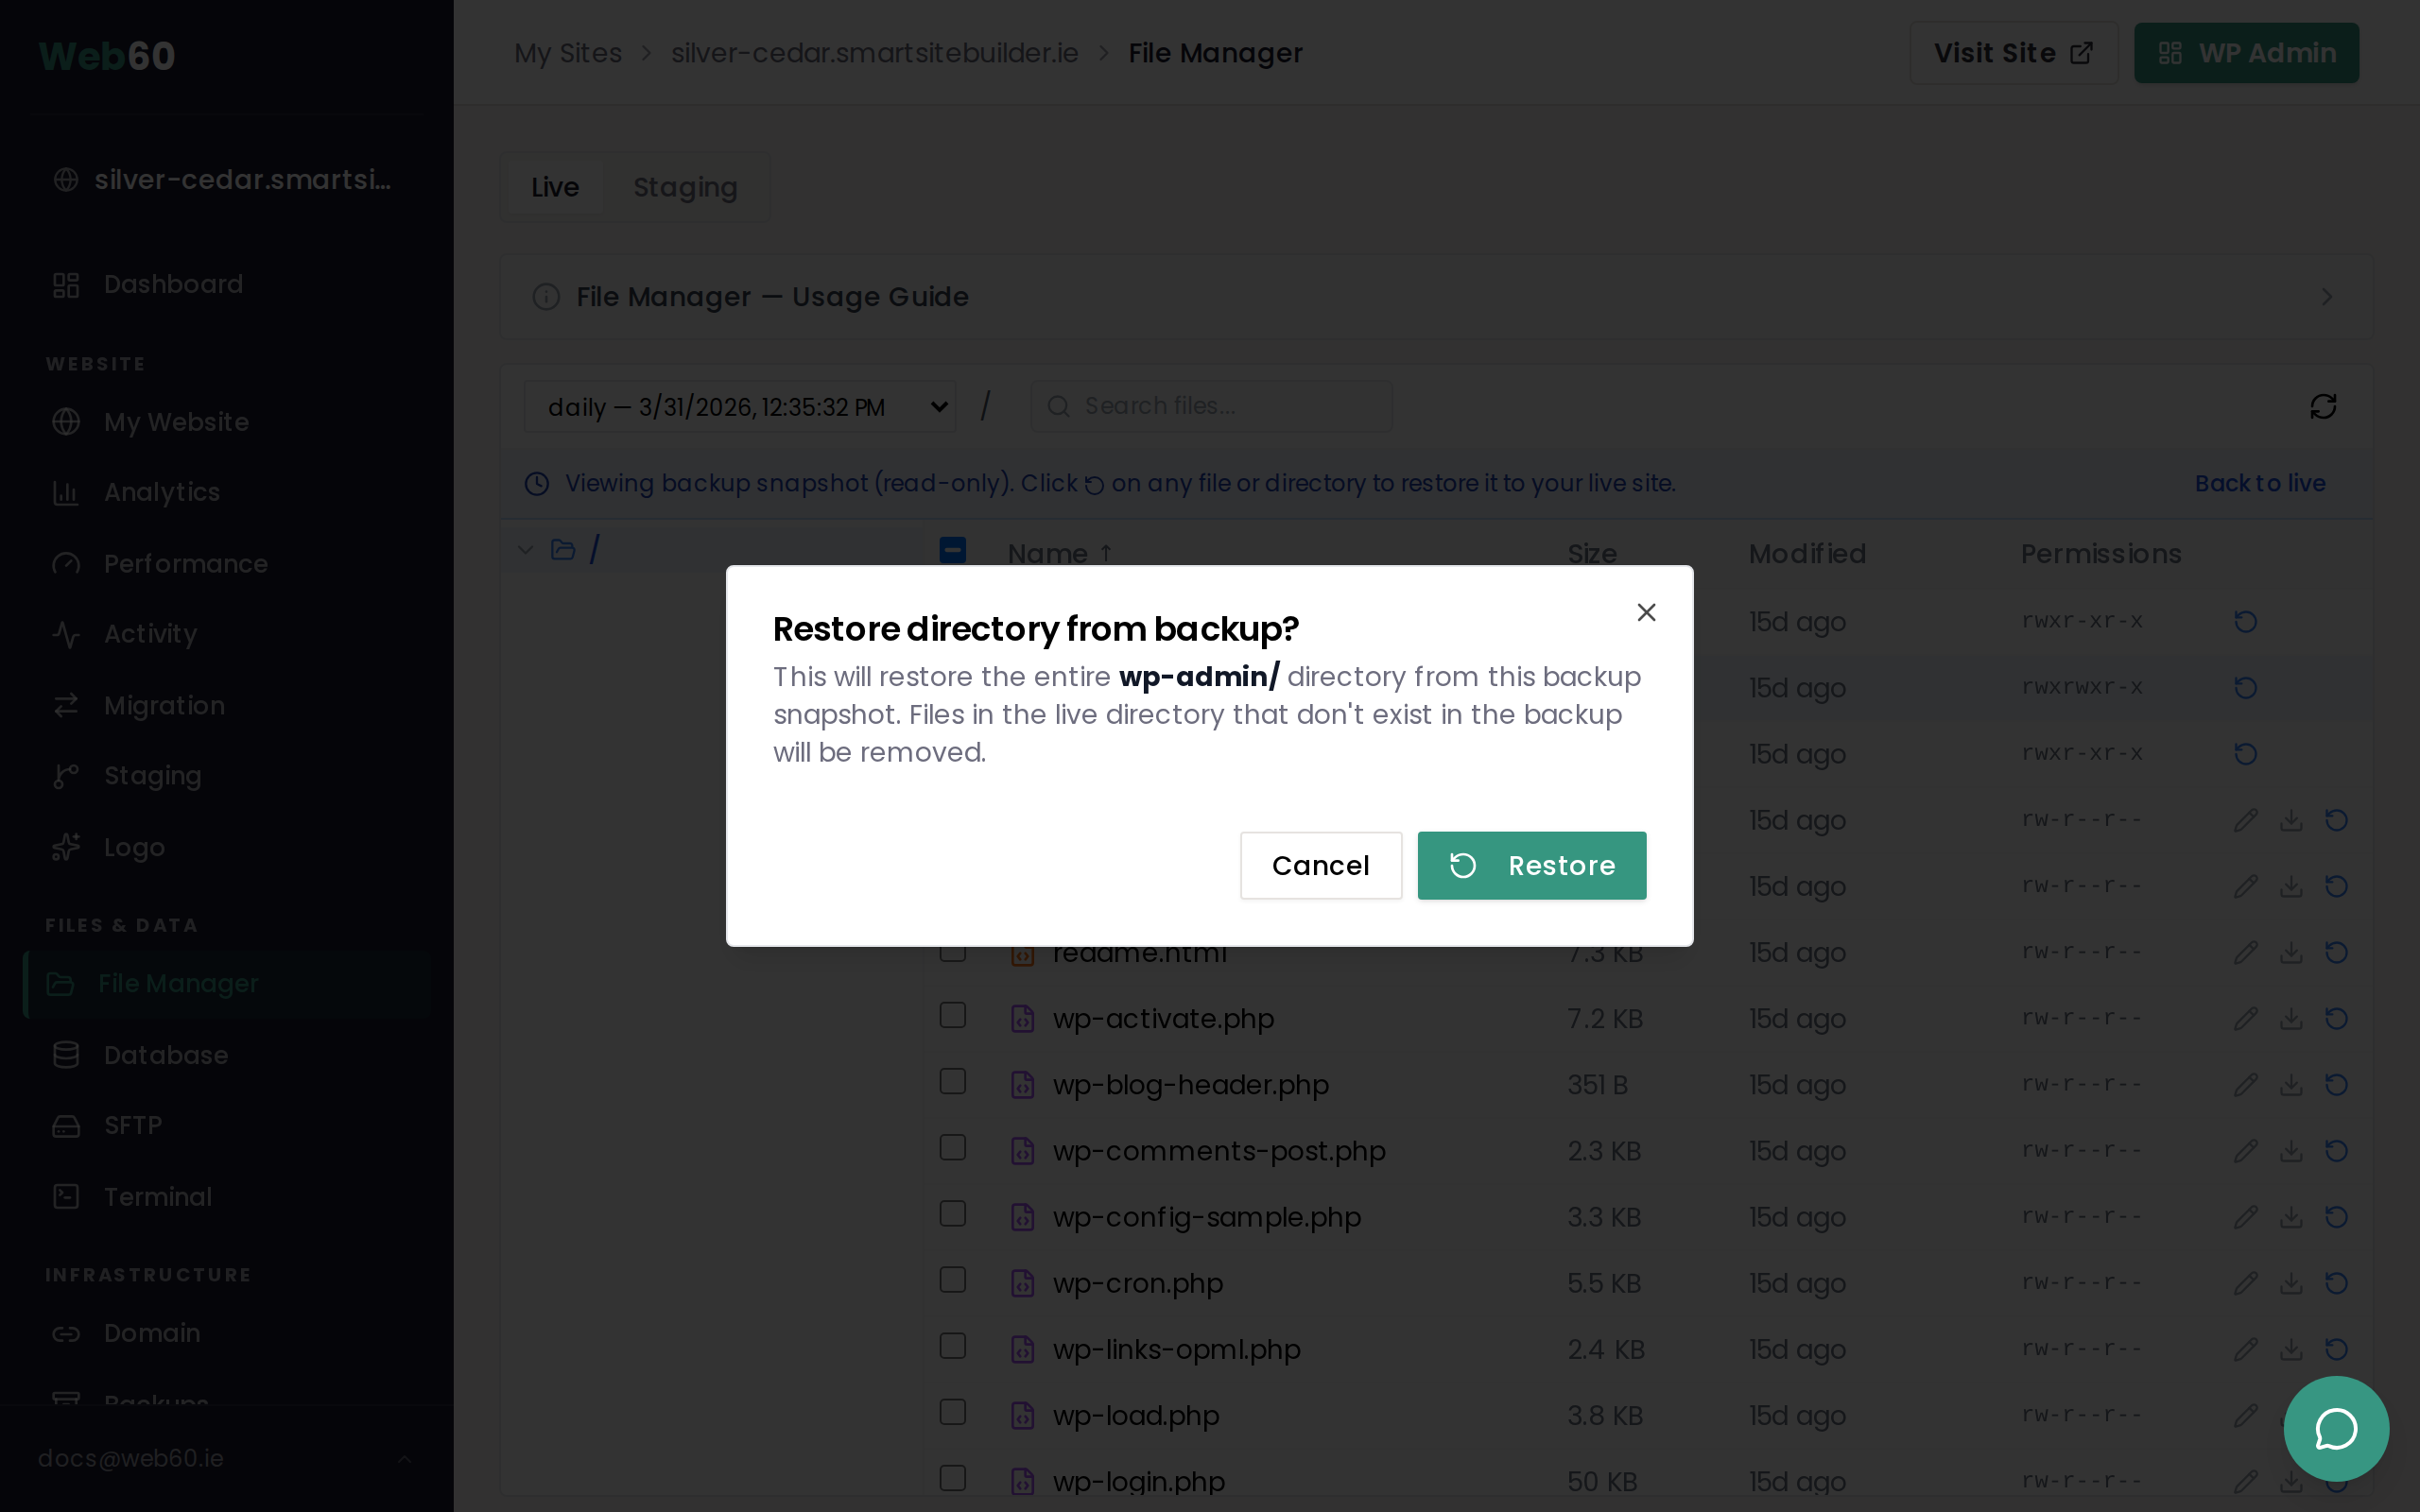
Click Restore to confirm. The file or folder will be copied from the backup to your live website immediately. A success message will appear when it is done.
Step 5: Return to live view
Click Back to live in the blue banner, or select Live Files from the dropdown, to go back to browsing your current website files. You can verify the restored file is now in place.
What happens when you restore
- For a single file: the live version of that file is replaced with the backup version. If the file was deleted from your live site, it is recreated.
- For a folder: the entire folder is replaced with the backup version. Files that exist in your live folder but not in the backup will be removed. This ensures the folder matches the backup exactly.
- Everything else is untouched: your database, your other files, your settings, and your plugins are not affected.
- No downtime: your website stays online throughout the restore. Visitors will not see a maintenance page.
Individual file restore vs full restore vs database restore
| Individual file restore | Full site restore | Database-only restore | |
|---|---|---|---|
| What it restores | One file or folder | All files and the database | Database only |
| Website downtime | None | Brief maintenance mode | Brief maintenance mode |
| Safety backup created | No | Yes (automatic) | Yes (automatic) |
| Best for | Single file fixes | Major problems | Content or settings rollback |
| Where to do it | File Manager | Backups page | Backups page |
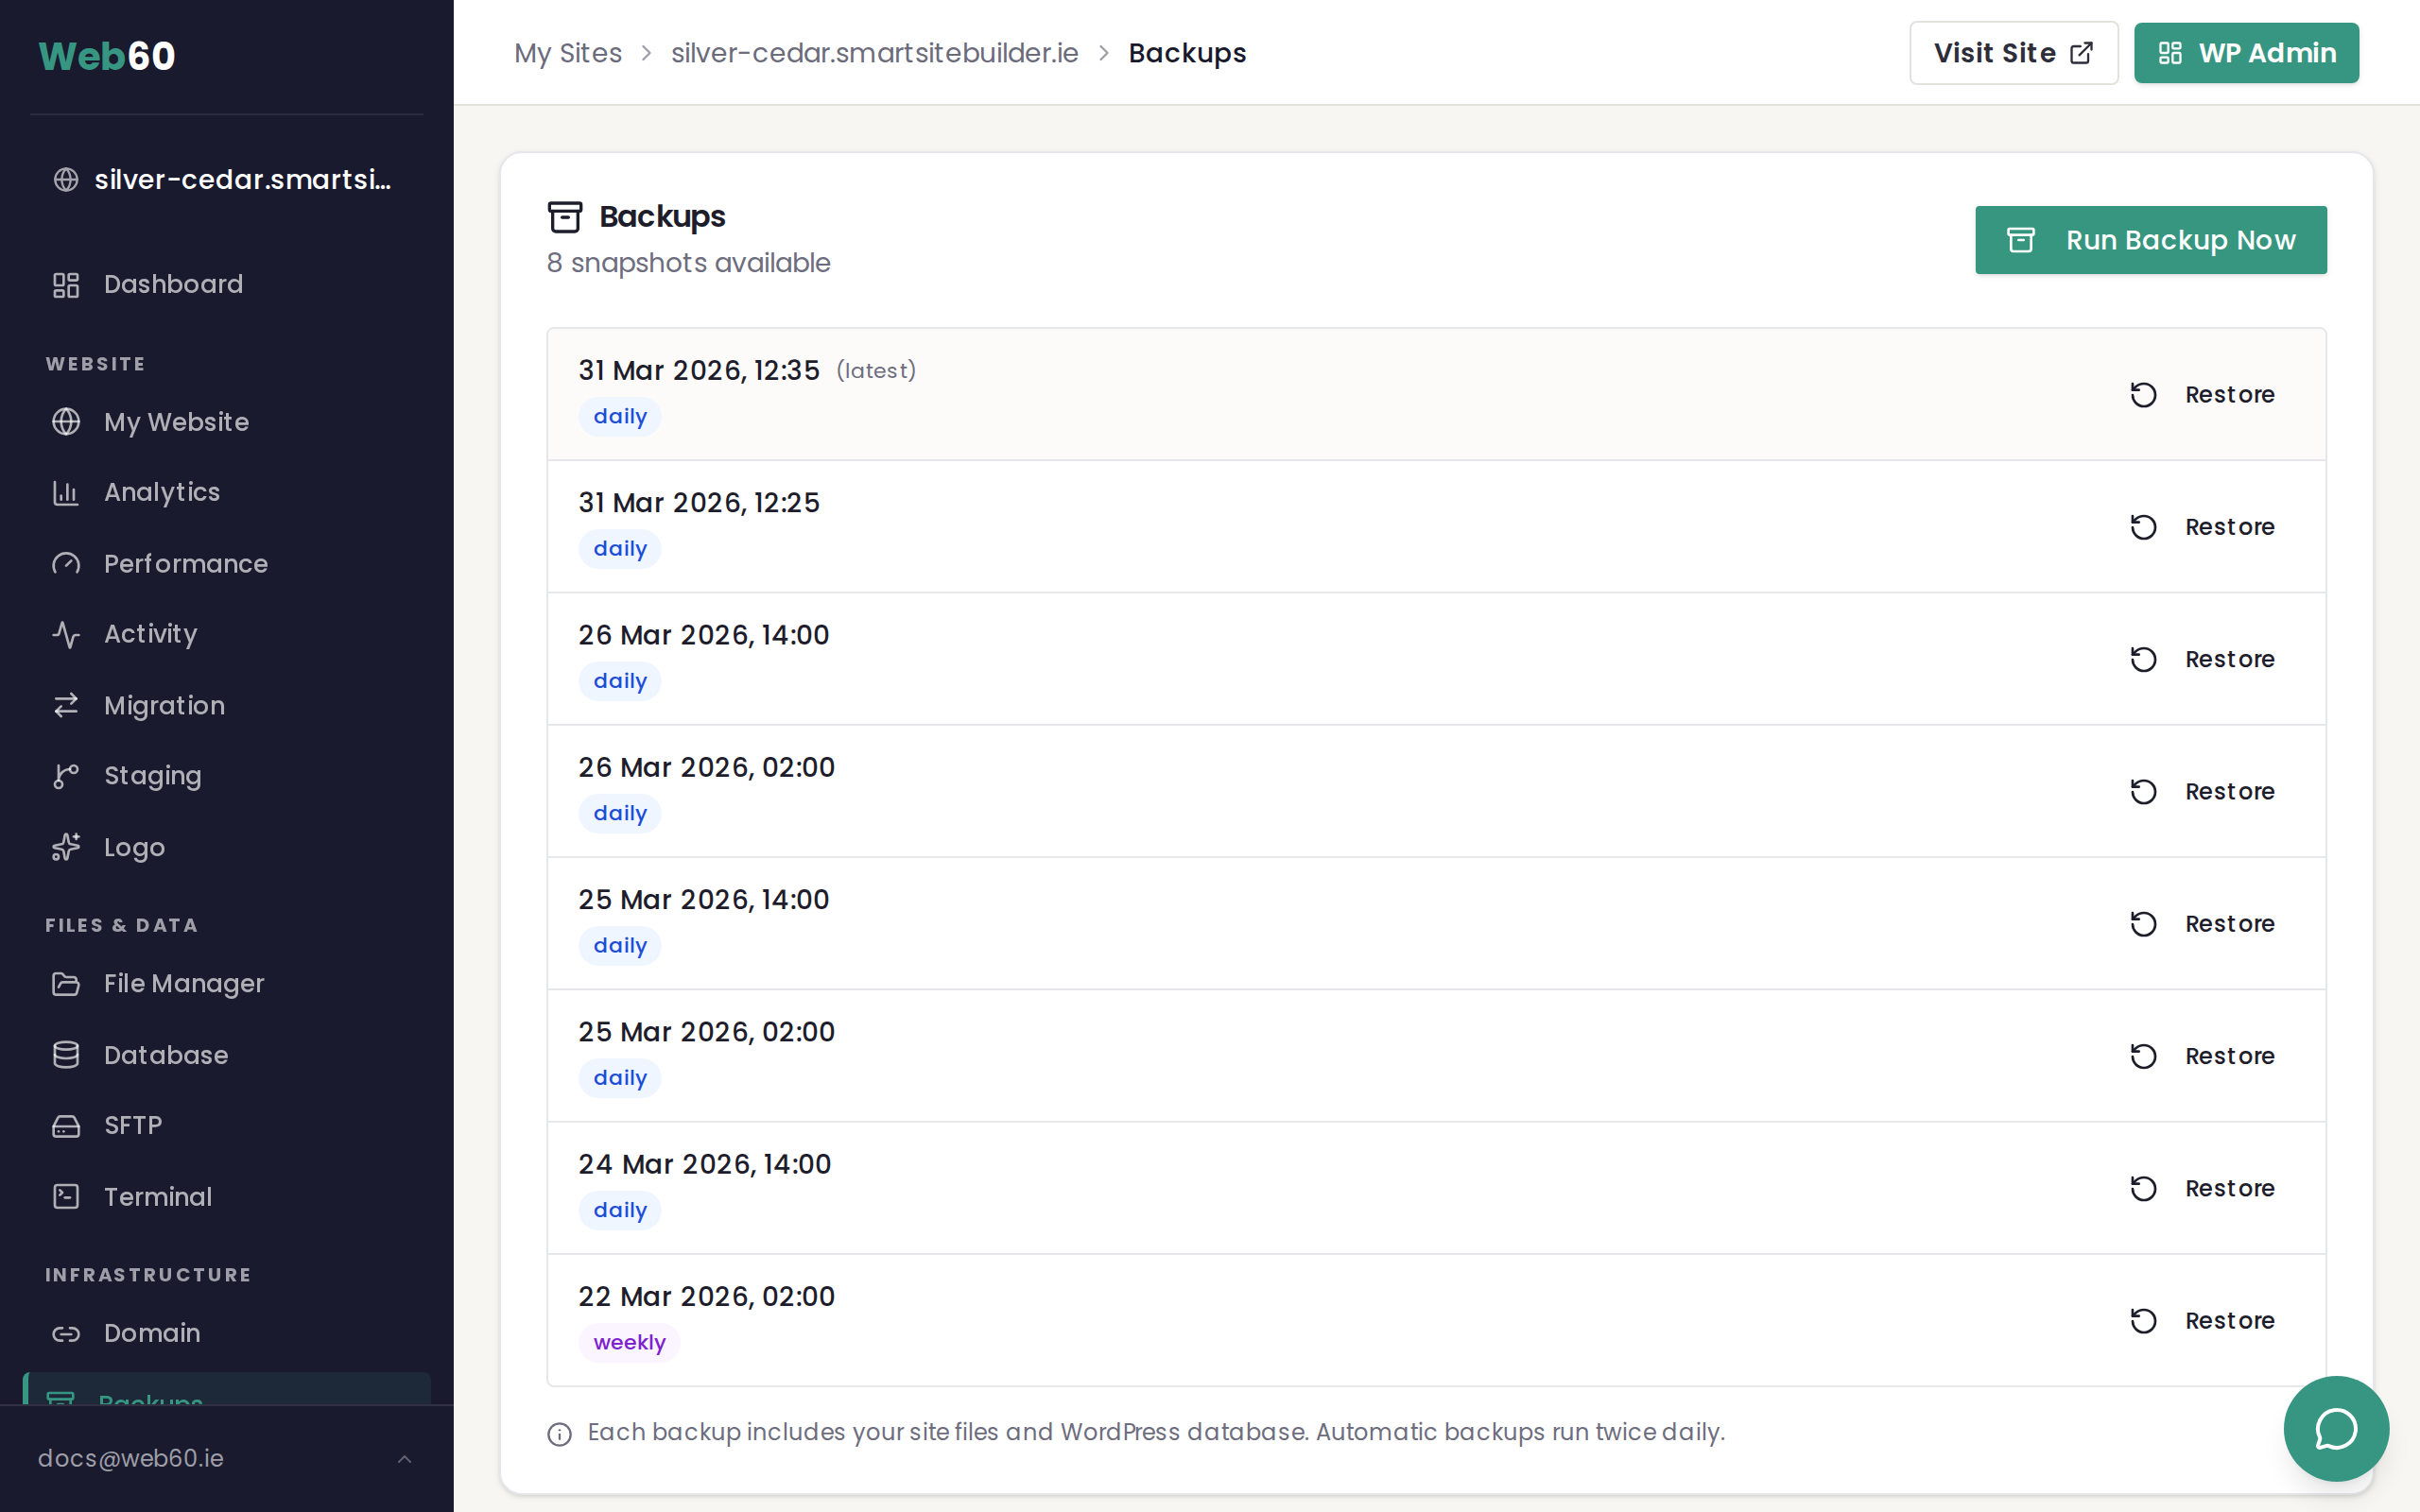
For a full site restore, go to the Backups page in your sidebar and click Restore next to the backup you want.
Tips
- Check the date of the backup before restoring. Make sure it is from before the problem occurred.
- Create a manual backup first if you are not sure about the restore. Go to the Backups page and click Run Backup Now before making changes.
- You can download before restoring by clicking the download icon next to any file in backup mode. This lets you inspect the backup version on your computer before overwriting your live file.
- Large folders have a size limit of 500 MB for individual restore. For anything larger, use a full site restore instead.
Need help?
If you are unsure which file to restore or whether an individual restore is the right approach, visit our support page and we will help you work it out.
Frequently asked questions
Does restoring a file affect the rest of my website?
No. Only the specific file or folder you choose is restored. Everything else on your website stays exactly as it is. Your database, other files, plugins, and settings are not touched.
Can I restore a file that was deleted?
Yes, as long as the file existed when the backup was taken. Browse to the location where the file used to be in the backup snapshot and click the restore icon to bring it back.
Is a safety backup created before I restore a file?
No. Individual file restores are immediate and do not create a safety snapshot beforehand. If you are unsure, you can create a manual backup from the Backups page before restoring.
What is the difference between this and a full restore?
A full restore replaces your entire website (all files and your database) with a previous version. An individual file restore only replaces the one file or folder you select. Use individual file restore when the problem is limited to a specific file.
Can I restore an entire folder?
Yes. You can restore a single file or an entire folder. When restoring a folder, the contents are replaced with exactly what was in the backup. Any files in the live folder that were not in the backup will be removed.
Will my website go offline during an individual file restore?
No. Individual file restores happen instantly and do not put your website into maintenance mode. Your visitors will not notice anything.
Last updated: 31 March 2026