
After purchasing your Web60 plan with the Empty WordPress option and completing the Get Started wizard, your site is a clean WordPress installation with the default theme. There is no pre-built content — just a fresh starting point for you to build from.
Here is a step-by-step guide to getting your site up and running.
1. Sign in to your Web60 dashboard
Go to your Web60 dashboard and sign in with the email address and password you created during the Get Started wizard. Your dashboard is where you manage everything — your site, domain, backups, and account settings.
2. Open your WordPress editor
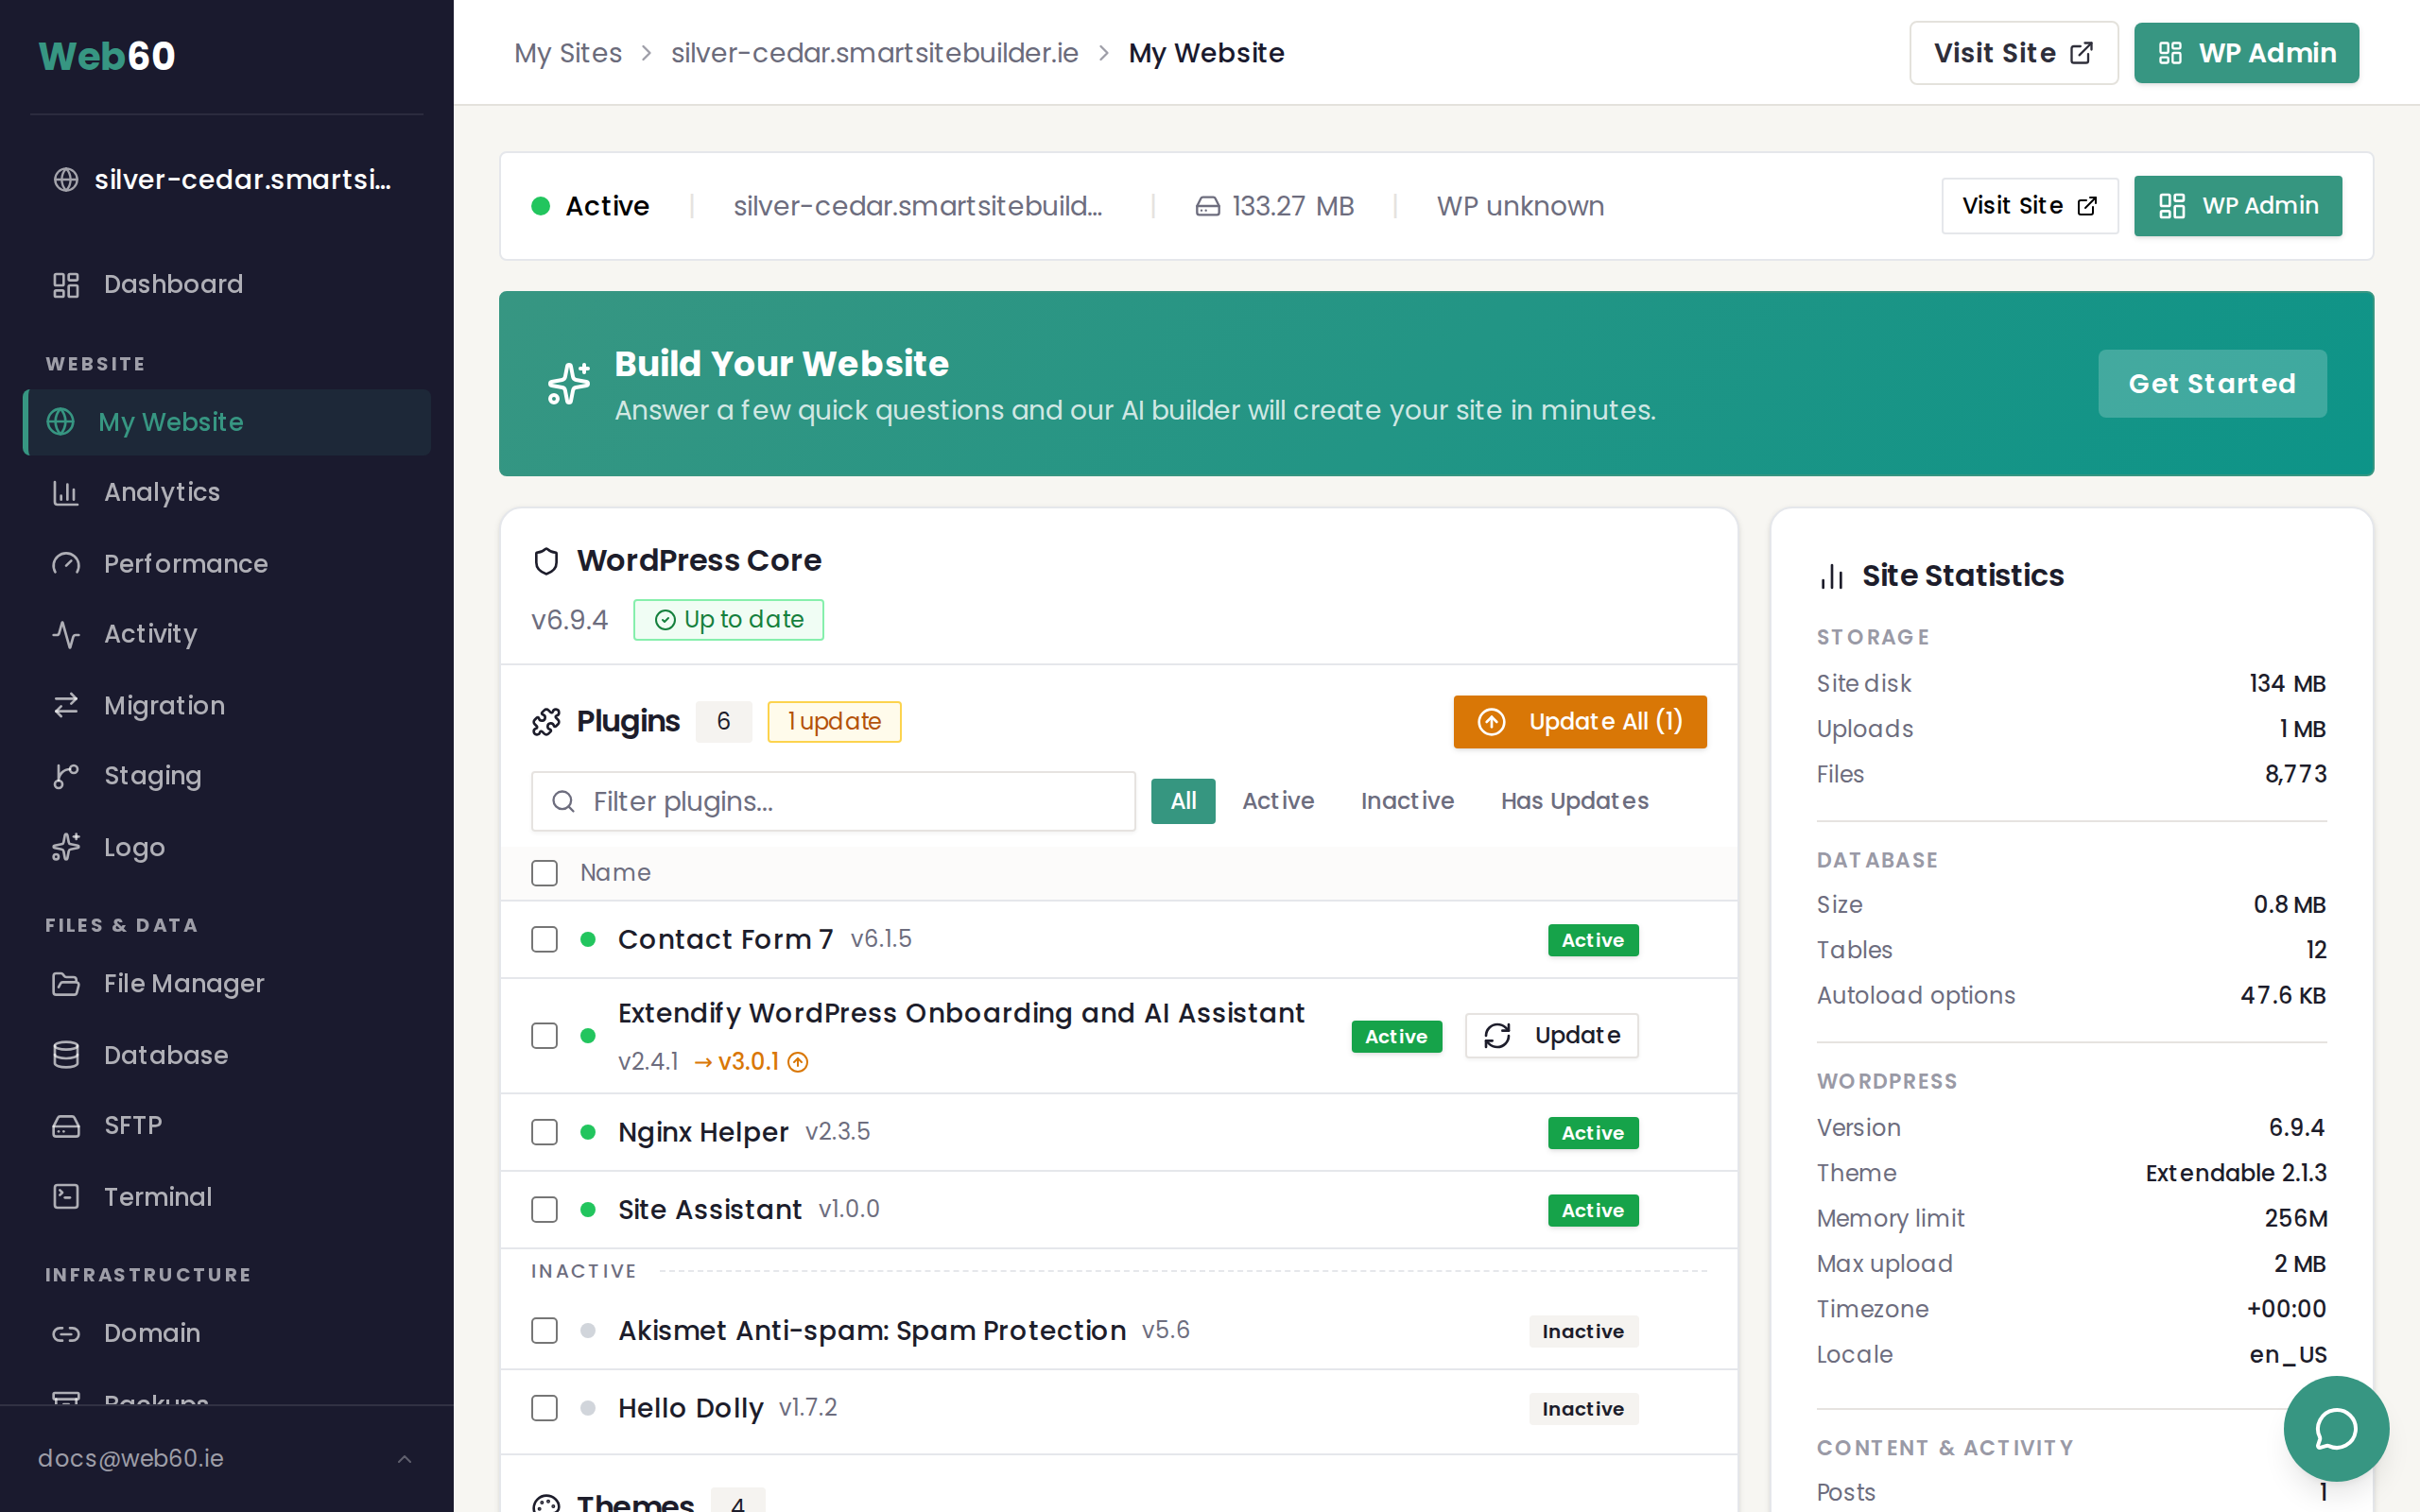
From your dashboard, click My Website in the left-hand menu, then click the Open WordPress button. This takes you into your WordPress editor, where all the building happens.
You are logged in automatically, so there is no separate WordPress username or password to worry about.
For more detail, see our guide to opening WordPress.
3. Choose a theme
Your site starts with the default WordPress theme, but you will probably want something that better fits your business. In your WordPress editor, go to Appearance then Themes, browse or search for a theme you like, and click Activate to apply it. WordPress has thousands of free themes, and you can also upload premium ones.
For a full walkthrough, read our guide to managing themes.
4. Create your first pages
Most business websites need at least a few key pages:
- Home — your main landing page
- About — who you are and what you do
- Services or Products — what you offer
- Contact — how people can get in touch
To create a new page, go to Pages then Add New in your WordPress editor. Give it a title, add your content, and click Publish when you are happy with it.
5. Set up your navigation menu
Once you have a few pages, you will want to set up a navigation menu so visitors can find their way around your site.
Go to Appearance then Menus in your WordPress editor. Create a new menu, add the pages you want to include, and assign it to your theme's main menu location.
6. Add a contact form plugin
If you want visitors to send you messages through your website, you will need a contact form plugin. Go to Plugins then Add New in your WordPress editor, search for a form plugin such as WPForms Lite or Contact Form 7, and click Install then Activate.
7. Connect your domain
When you are ready, connect your own domain name from the Domain section of your Web60 dashboard.
Everything else works the same
Even though you started with an Empty WordPress site, all of your Web60 dashboard features work exactly the same as they do for any Web60 site:
- Backups are taken daily and can be restored at any time
- Your SSL certificate is set up automatically
- Staging is available if you want to test changes before they go live
- Analytics will start tracking visitors as soon as your site is live
Take it at your own pace
There is no rush. Build your site one page at a time, try different themes, and experiment with plugins until you are happy. Your site is live on a temporary address from the start, so no one will see it until you connect your domain and share it.
Need help?
If you get stuck or need advice on setting up your site, visit our support page and we will be happy to help.
Frequently asked questions
Is there any content on my site when I start?
Your site comes with the default WordPress theme and a sample page. There is no pre-built content or generated design — you have a clean slate to work with.
Can I install any WordPress theme?
Yes. You have full access to the WordPress theme library, and you can also upload premium themes from third-party providers.
Do I still get backups and SSL?
Yes. Your Empty WordPress site has exactly the same backups, SSL certificate, hosting, and dashboard features as any other Web60 site.
Last updated: 31 March 2026