
If you have staff, a business partner, or a web designer who needs to work on your website, you can give them their own login. This guide explains how to add and manage users, and how to control what each person can do.
Viewing your current users
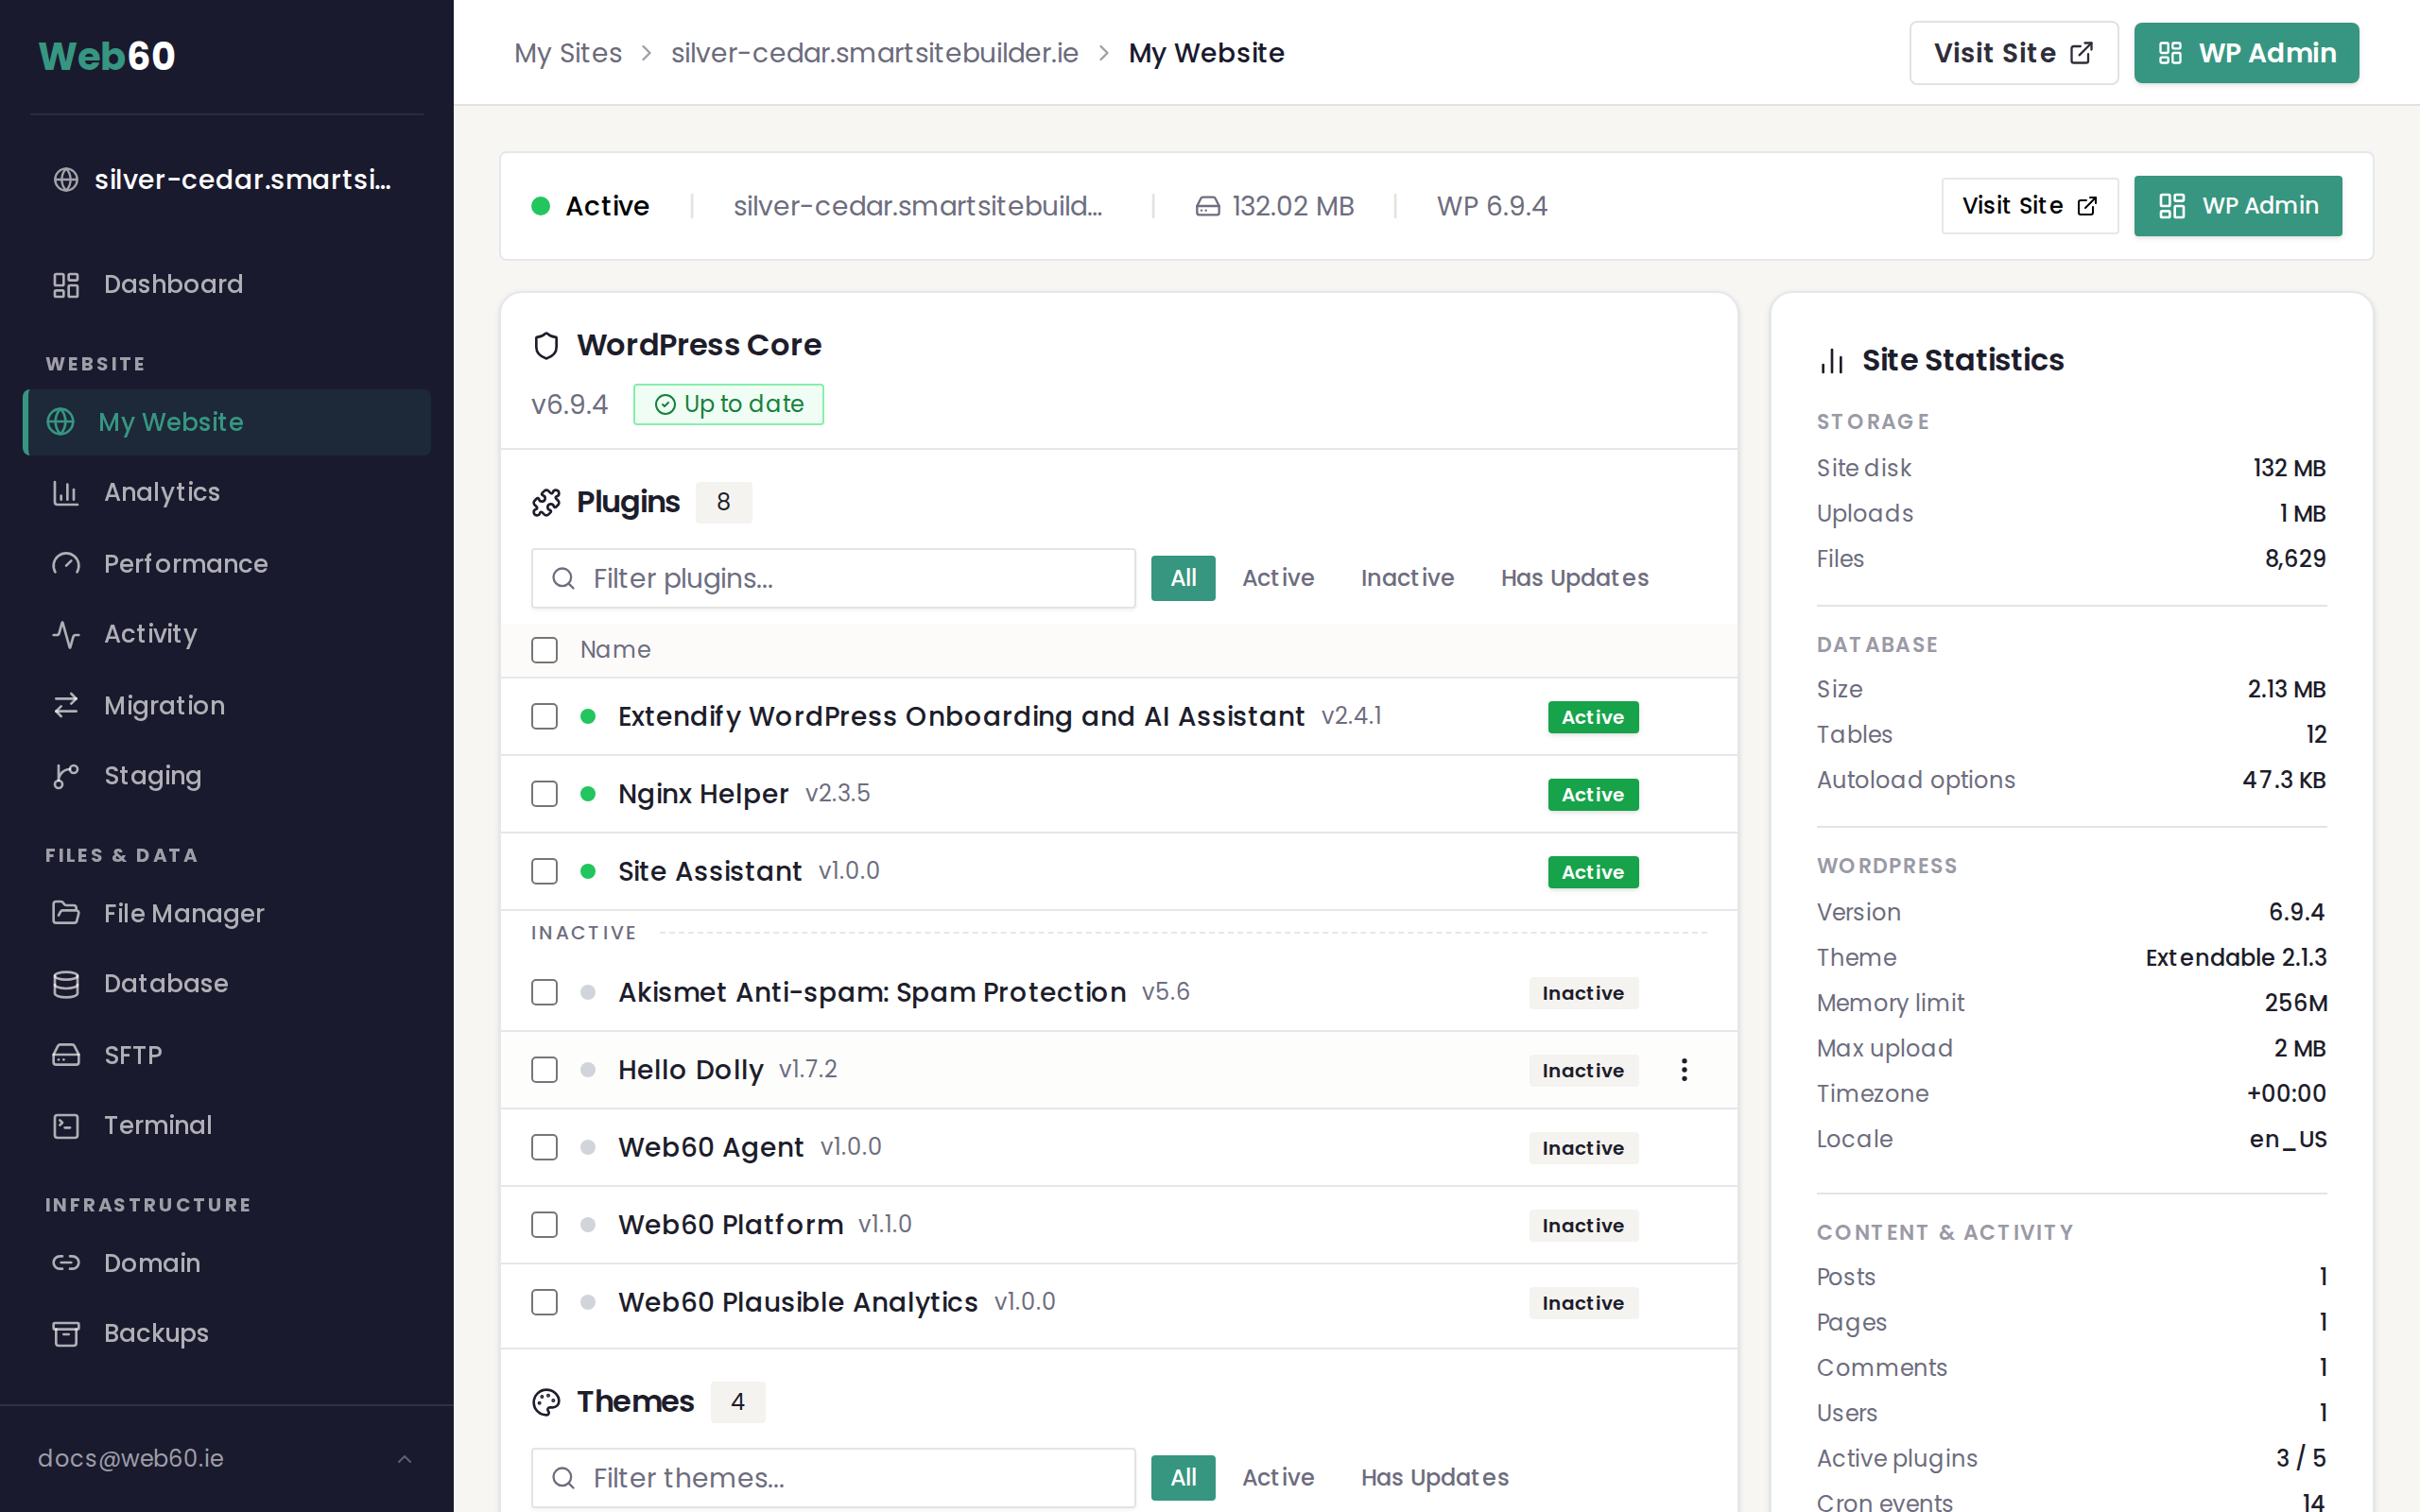
The quickest way to see who has access to your website is from your Web60 dashboard:
- Sign in to your Web60 dashboard.
- Click "My Website" in the sidebar.
- Scroll down to the WP Users card, which shows a table of everyone who currently has access to your WordPress editor.
How to add a new user
You can add new users from within your WordPress editor:
- Open your WordPress editor from your Web60 dashboard (go to My Website, then click the "WP Admin" button).
- Go to Users in the left-hand menu.
- Click "Add New" at the top of the page.
- Fill in the details:
- Username is the name they'll use to log in (this can't be changed later, so choose carefully).
- Email address is their email, where login details will be sent.
- Password lets you set a strong password for them, or let WordPress generate one.
- Role lets you choose what level of access they should have (see below).
- Click "Add New User" to finish.
The new user will receive an email with their login details.
Understanding user roles
When you add someone, you choose a "role" that controls what they can and can't do. Here are the main roles, explained simply:
Administrator
Full control over everything, including content, design, settings, and other users. This is the role you have. Only give this to people you trust completely with your website.
Editor
Can create, edit, and publish any page or post on the site. They can also edit other people's content. Good for someone who manages your website content day to day.
Author
Can create and publish their own pages and posts, but can't edit anyone else's content. Good for a staff member who writes blog articles.
Contributor
Can write content but can't publish it. An Administrator or Editor has to review and publish it for them. Good for occasional guest writers.
How to remove a user
If someone no longer needs access to your website:
- Open your WordPress editor from your Web60 dashboard.
- Go to Users in the left-hand menu.
- Hover over the user's name and click "Delete".
- You'll be asked what to do with their content. Choose "Attribute all content to" and select your own name, so their pages and posts aren't lost.
- Confirm the deletion.
How to change someone's role
If you need to give someone more or less access:
- Go to Users in your WordPress editor.
- Click on the user's name.
- Scroll down to the Role dropdown and select their new role.
- Click "Update User" to save the change.
WordPress user roles explained
WordPress has five built-in roles. Each one controls what the user can do in the WordPress editor:
| Role | What they can do |
|---|---|
| Administrator | Full control. Can do everything including install plugins and manage other users |
| Editor | Can create, edit, publish, and delete any post or page, including other users' content |
| Author | Can create, edit, publish, and delete their own posts only |
| Contributor | Can write and edit their own posts but cannot publish. An Administrator must approve first |
| Subscriber | Can only manage their own profile. Cannot create content |
When to use each role
- Administrator for yourself and any trusted technical helpers only
- Editor for a staff member or copywriter who manages all content
- Author for a regular content contributor who publishes their own articles
- Contributor for a guest writer whose work you review before publishing
- Subscriber for customers or members who need to log in but should not touch content
A note about security
- Only give Administrator access to people you fully trust. An Administrator can install plugins, delete content, and change other users' passwords.
- Remove users who no longer need access. If a staff member leaves or a project with a designer is finished, remove their account promptly.
- Use strong passwords. Make sure every user has a password that's hard to guess, at least 12 characters, with a mix of letters, numbers, and symbols.
Next steps
- How to open your WordPress editor, the quickest way to get into WordPress.
- Take a tour of your WordPress editor to learn what each section does.
Need help?
If you need help managing your website users, or if someone is locked out, visit our support page and we'll help you sort it out.
Frequently asked questions
What's the difference between an Administrator and an Editor?
An Administrator can change all settings and manage the entire site. An Editor can create and edit content but can't change site settings or install plugins.
How many users can I add?
There's no limit on the number of users you can add to your WordPress editor.
Can I remove a user without losing the content they created?
Yes. When you delete a user, WordPress asks what to do with their content. Choose to transfer it to your own account and all their pages and posts will be kept.
Last updated: 15 March 2026